1. X-Motor Plate
    • X-Motor Plate

    • M3x8 Cap Screws (6 Pcs)

    • M3 Washers (6 Pcs)

    • GT2 Pulley, 16 teeth

    • Standoff M3x23, Female-Female (2 Pcs)

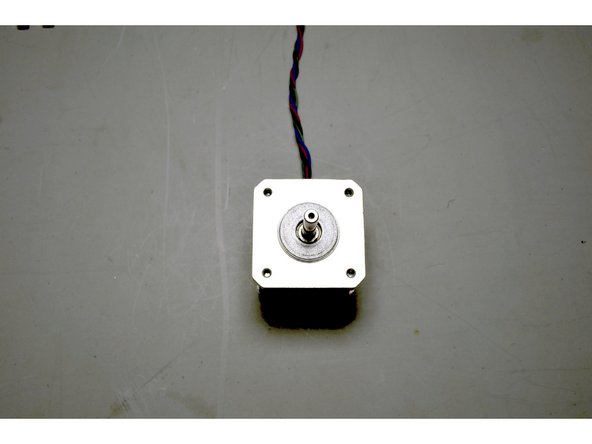
    • X-Motor

  2. Sharp Nose Pliers
    • Sharp Nose Pliers

    • Pratley Pratlock

    • 2.5mm Allen Key

    • 1.5mm Allen Key

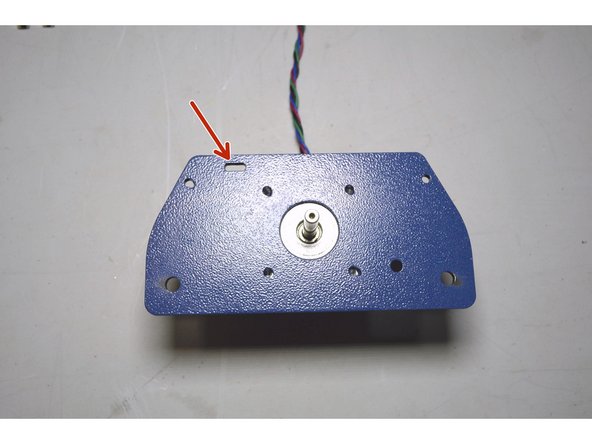
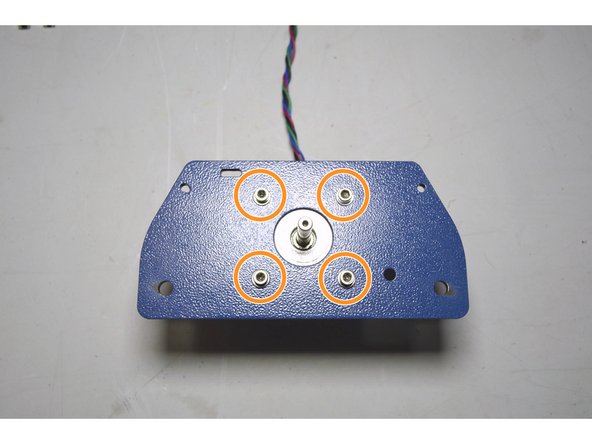
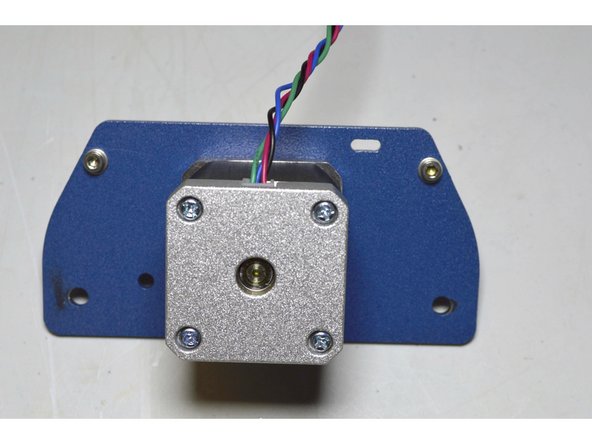
  3. Place the X-Motor on the table with the wires facing away to the top Place the X-Motor Plate on top of the X-Motor with the slot on the top left corner Mount the plate to the motor with the M3x8 cap screws (4 Pcs), M3 Washers (4 Pcs) and Pratley Pratlock
    • Place the X-Motor on the table with the wires facing away to the top

    • Place the X-Motor Plate on top of the X-Motor with the slot on the top left corner

    • Mount the plate to the motor with the M3x8 cap screws (4 Pcs), M3 Washers (4 Pcs) and Pratley Pratlock

    • Faster these screws with the 2.5mm Allen Key

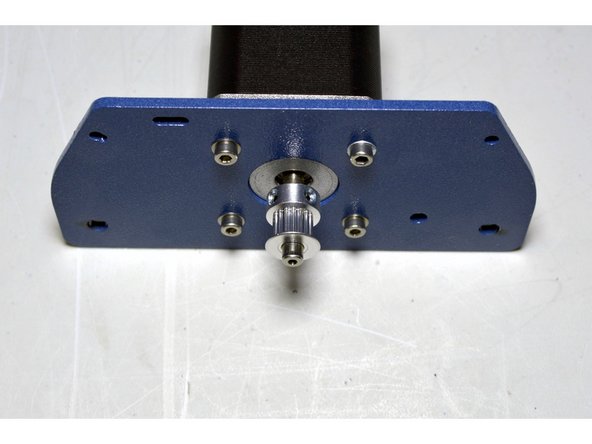
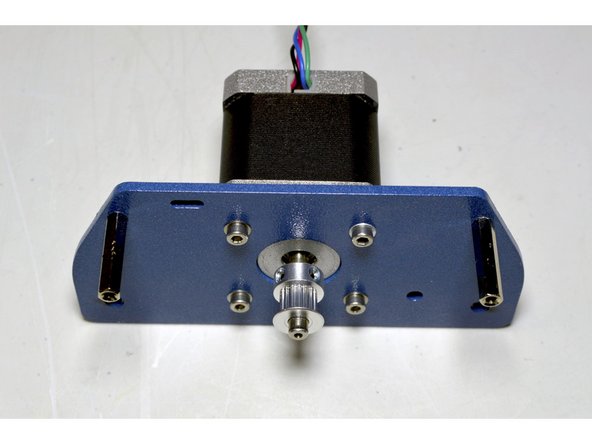
  4. Slide the GT2 pulley onto the motor shaft with the bigger flanch facing the motor
    • Slide the GT2 pulley onto the motor shaft with the bigger flanch facing the motor

    • Add Pratley Pratlock to the grub screws

    • Tighten the grub screws with the 1.5mm Allen Key

  5. Mount the M3x23 standoffs (2 Pcs) to the X-Motor Plate with the M3x8 cap screws (2 Pcs), M3 Washers (2 Pcs) and Pratley Pratlock Tighten the screws with the 2.5mm Allen Key while holding the standoff with the sharp nose pliers Tighten the screws with the 2.5mm Allen Key while holding the standoff with the sharp nose pliers
    • Mount the M3x23 standoffs (2 Pcs) to the X-Motor Plate with the M3x8 cap screws (2 Pcs), M3 Washers (2 Pcs) and Pratley Pratlock

    • Tighten the screws with the 2.5mm Allen Key while holding the standoff with the sharp nose pliers

Finish Line

14 other people completed this guide.

Dozuki System

Member since: 09/24/2009

1 Reputation

1 Guide authored

One Comment

Done………………….

Francois Maritz - Reply

Add Comment

View Statistics:

Past 24 Hours: 0

Past 7 Days: 0

Past 30 Days: 6

All Time: 2,732