
-
-
X-Motor Plate
-
M3x8 Cap Screws (6 Pcs)
-
M3 Washers (6 Pcs)
-
GT2 Pulley, 16 teeth
-
Standoff M3x23, Female-Female (2 Pcs)
-
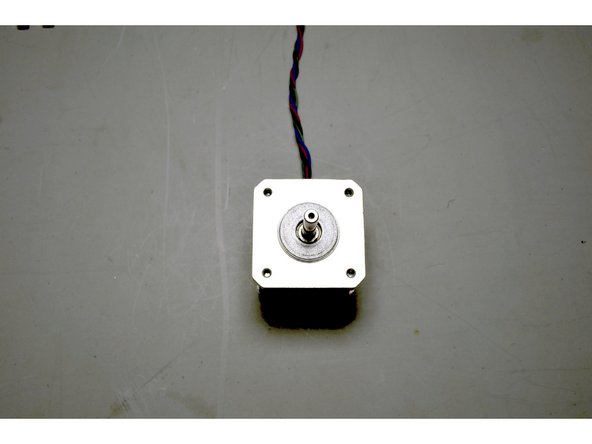
X-Motor
-
-
-
Place the X-Motor on the table with the wires facing away to the top
-
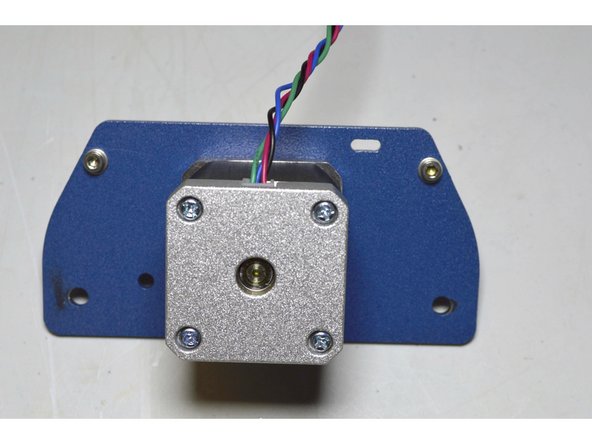
Place the X-Motor Plate on top of the X-Motor with the slot on the top left corner
-
Mount the plate to the motor with the M3x8 cap screws (4 Pcs), M3 Washers (4 Pcs) and Pratley Pratlock
-
Faster these screws with the 2.5mm Allen Key
-
-
-
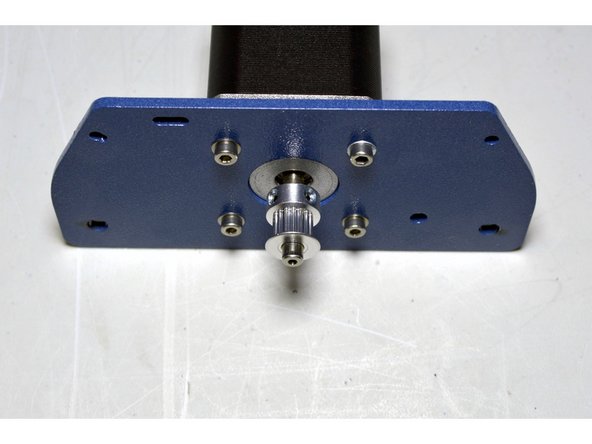
Slide the GT2 pulley onto the motor shaft with the bigger flanch facing the motor
-
Add Pratley Pratlock to the grub screws
-
Tighten the grub screws with the 1.5mm Allen Key
-
-
-
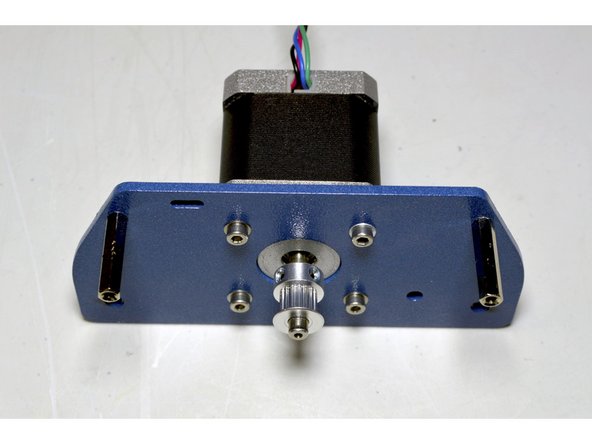
Mount the M3x23 standoffs (2 Pcs) to the X-Motor Plate with the M3x8 cap screws (2 Pcs), M3 Washers (2 Pcs) and Pratley Pratlock
-
Tighten the screws with the 2.5mm Allen Key while holding the standoff with the sharp nose pliers
-


Cancel: I did not complete this guide.
14 other people completed this guide.
