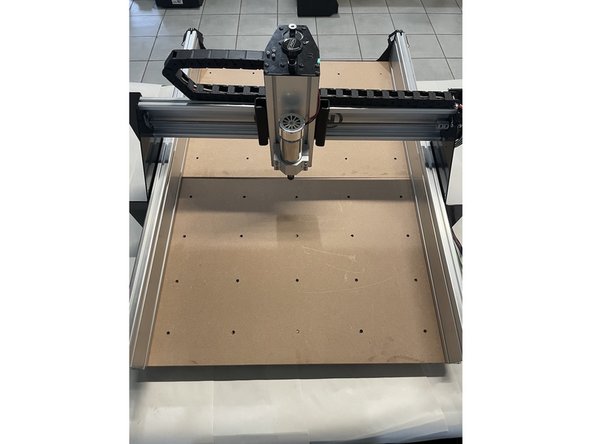
1. Take the Y-axis aluminium profiles and check the preload on the V-wheels for the Y-axis in the exact same way as we did for the X-axis. Use the one profile for the left gantry and the other one for the right gantry.
    • Take the Y-axis aluminium profiles and check the preload on the V-wheels for the Y-axis in the exact same way as we did for the X-axis.

    • Use the one profile for the left gantry and the other one for the right gantry.

    • Leave the aluminium profiles on the V-wheels after you checked the preload.

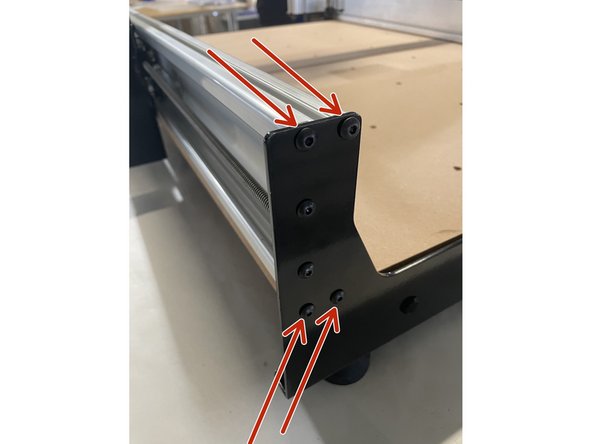
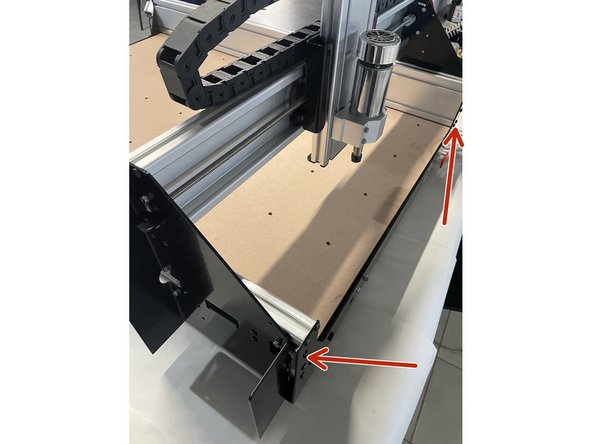
  2. Mount the Back Plate to the aluminium profiles with 8 x M5x16 black button head cap screws as shown in the pictures. Do not fully tighten these screws at this stage. Slide the X-gantry back, against the back plate and tighten the 8 x M5x16 black button head cap screws.
    • Mount the Back Plate to the aluminium profiles with 8 x M5x16 black button head cap screws as shown in the pictures.

    • Do not fully tighten these screws at this stage.

    • Slide the X-gantry back, against the back plate and tighten the 8 x M5x16 black button head cap screws.

  3. Mount the Electronics Assembly to the back plate with 2 x M5x12 Button head cap screws and 2 x M5 lock nuts as shown in the pictures. Mount the Electronics Assembly to the back plate with 2 x M5x12 Button head cap screws and 2 x M5 lock nuts as shown in the pictures.
    • Mount the Electronics Assembly to the back plate with 2 x M5x12 Button head cap screws and 2 x M5 lock nuts as shown in the pictures.

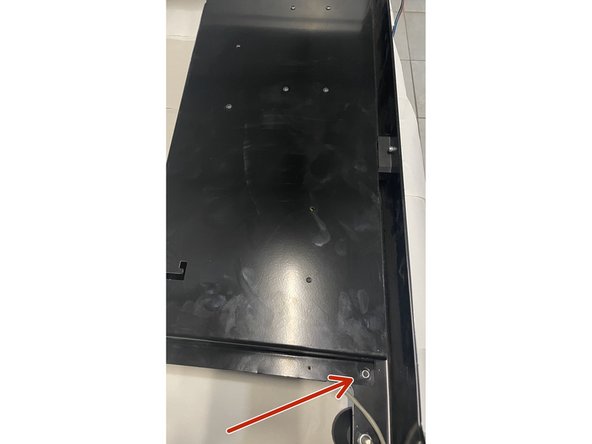
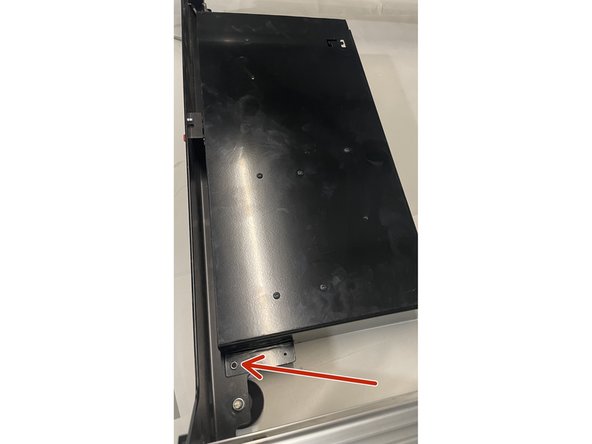
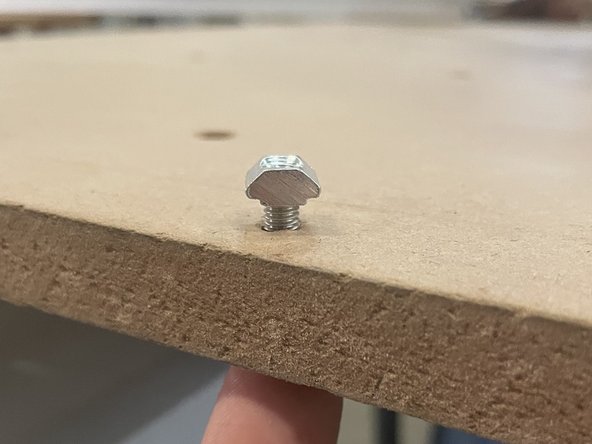
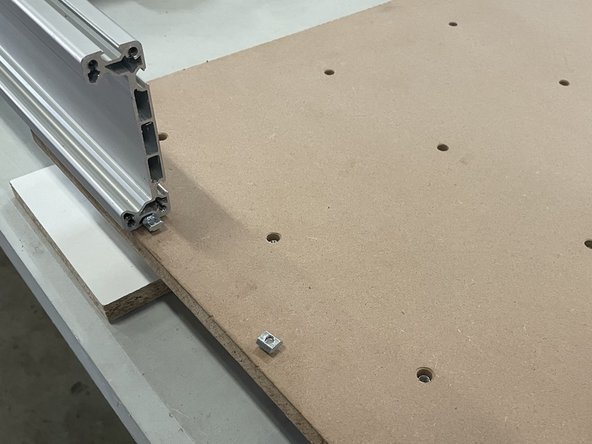
  4. Add 10 x M5x20 cap screws and 10 x M5 T-Nuts to each waste board as shown in the pictures. If you have the medium machine you will have 1 waste board.  If you have the large machine you will have 2 waste boards. Slide the waste board(s) onto the aluminium profiles as shown in the pictures.  Do not tighten these screws at this stage.
    • Add 10 x M5x20 cap screws and 10 x M5 T-Nuts to each waste board as shown in the pictures.

    • If you have the medium machine you will have 1 waste board. If you have the large machine you will have 2 waste boards.

    • Slide the waste board(s) onto the aluminium profiles as shown in the pictures. Do not tighten these screws at this stage.

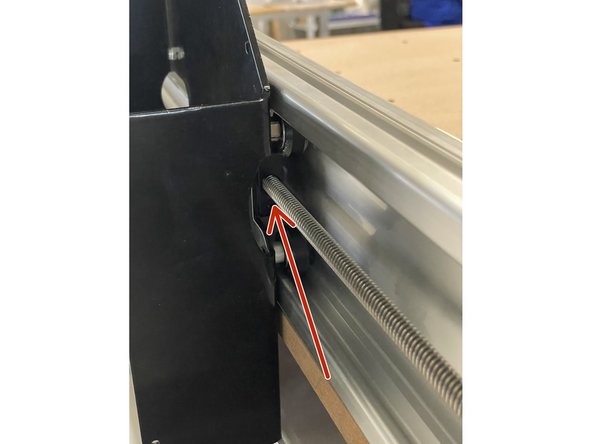
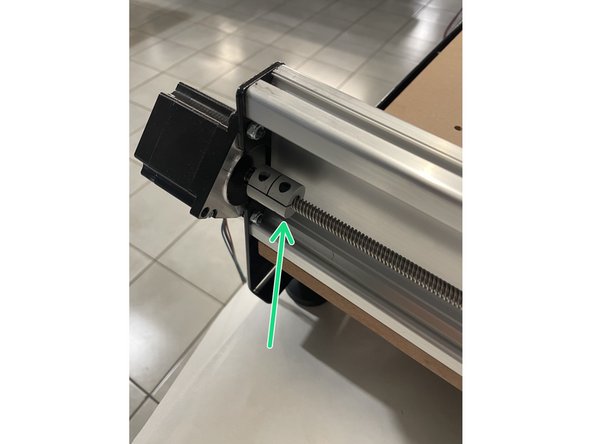
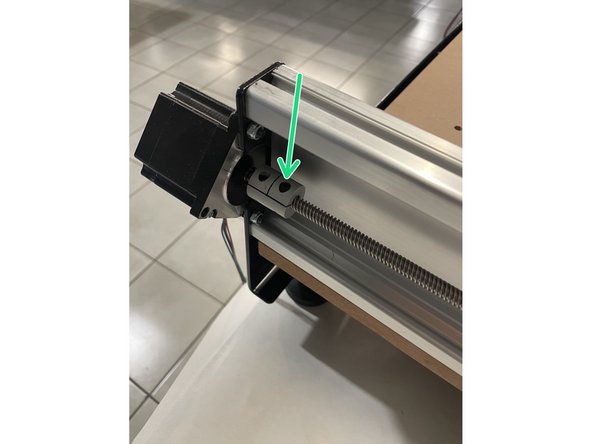
  5. Insert Y lead screws into the lead screw blocks on the inside of the left and right gantries. Screw the lead screws in so that they reach the rigid coupling mounted to the Y motors.
    • Insert Y lead screws into the lead screw blocks on the inside of the left and right gantries.

    • Screw the lead screws in so that they reach the rigid coupling mounted to the Y motors.

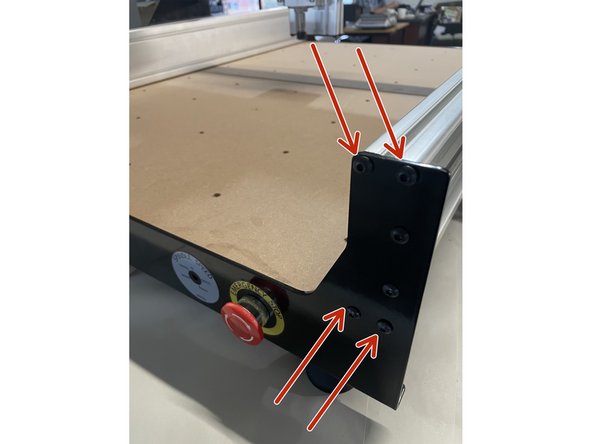
  6. Mount the front plate to the aluminium profiles with 8 x M5x16 black button head cap screws as shown in the pictures.  Do not tighten these screws at this stage. Make sure the Y lead screws go into the two pillow block bearings mounted to the inside of the front plate. Make sure the Y lead screws go into the two pillow block bearings mounted to the inside of the front plate.
    • Mount the front plate to the aluminium profiles with 8 x M5x16 black button head cap screws as shown in the pictures. Do not tighten these screws at this stage.

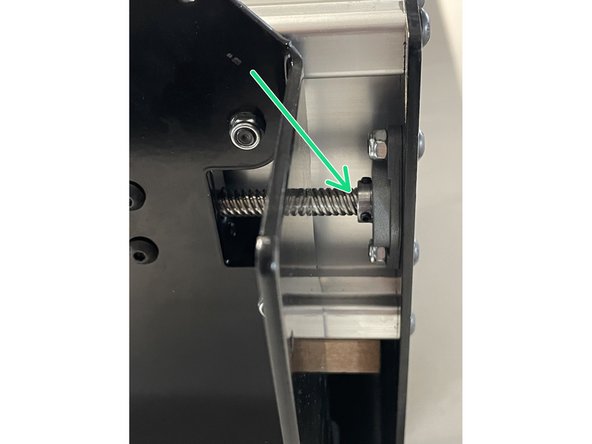
    • Make sure the Y lead screws go into the two pillow block bearings mounted to the inside of the front plate.

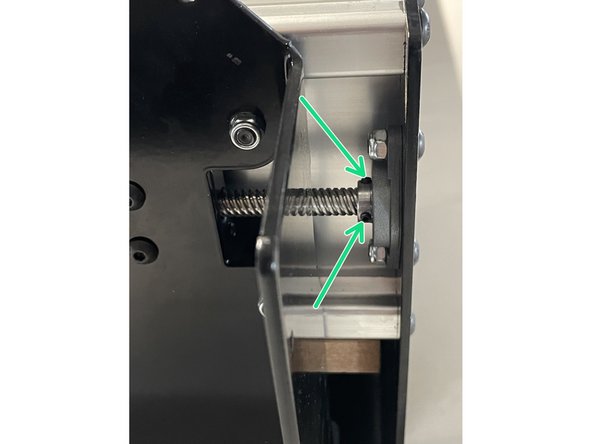
  7. Slide the X-Gantry to the front by turning the Y lead screw simputaniously by hand until the X-Gantry is against the front plate. Now tighten the 8 x M5x16 button head cap screws holding the front plate. Tighten the two Y lead screws by tightening the two grub screws in each of the pillow block bearings mounted to the front plate as well as the allen key cap screw in the rigid couplings holding the Y lead screw.
    • Slide the X-Gantry to the front by turning the Y lead screw simputaniously by hand until the X-Gantry is against the front plate.

    • Now tighten the 8 x M5x16 button head cap screws holding the front plate.

    • Tighten the two Y lead screws by tightening the two grub screws in each of the pillow block bearings mounted to the front plate as well as the allen key cap screw in the rigid couplings holding the Y lead screw.

    • Now, fully tighten all the M5x20 cap screws holding the waste board(s).

Finish Line

Paul Cronje

Member since: 10/05/2018

6,123 Reputation

46 Guides authored

0 Comments

Add Comment

View Statistics:

Past 24 Hours: 0

Past 7 Days: 6

Past 30 Days: 8

All Time: 27