-
-
Move the X-Axis slowly back and forth to make sure it can move smoothly and nothing is obstructing the movement
-
Repeat the same for the Y-Axis
-
Repeat the same for the Z-Axis
-
While you do this, check that the drag chains below the machine can move freely and is not obstructed by any wires.
-
-
-
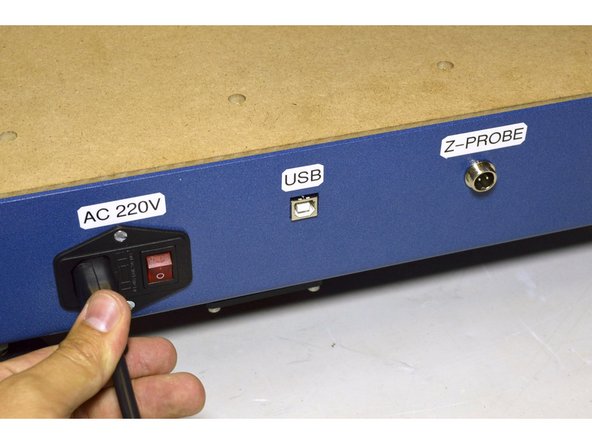
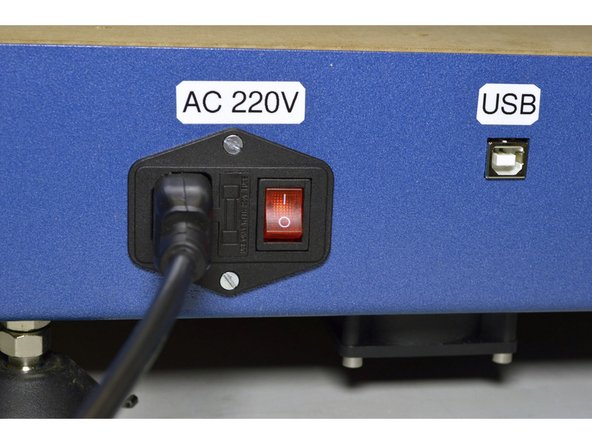
Insert the Kettle cable into the kettle plug and connect it to the plug in the wall. Make sure the kettle plug is switched OFF before you connect it to the wall.
-
Switch the kettle plug ON. You might want to stand back when you switch the machine on if something goes wrong. How far you stand will depend on the amount of confidence you have in your wiring! :-)
-
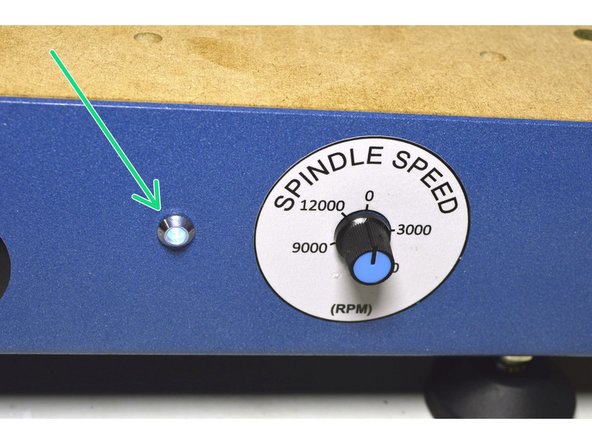
After you have switched on the power, check if the power LED on the front panel is on.
-
-
-
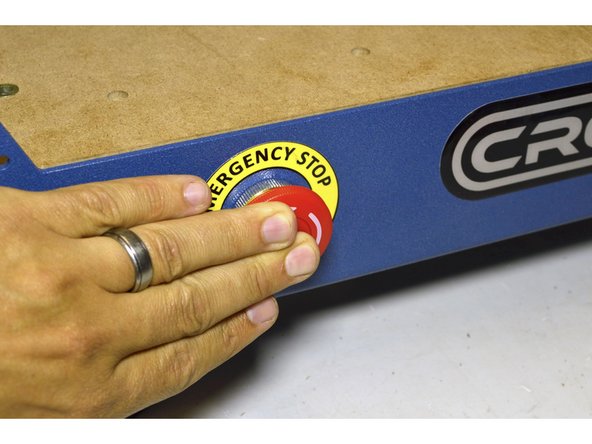
Press the Emergency Stop button a few times, so that you know it works and how it works.
-
To reset the Emergency Stop, turn the knob clockwise.
-
Leave the Emergency Stop disengaged.
-
-
-
Connect the USB cable to the CNC machine next to the power plug.
-
Congratulations! You have finished the assembly of the Cron Craft CNC machine!!
-
Please follow the Software Installation Instruction in the User Manual now.
-
Cancel: I did not complete this guide.
11 other people completed this guide.


