
-
-
Sharp nose pliers
-
2.5mm Allen Key
-
3mm Allen Key
-
5mm Allen Key
-
Small Flat Screw Driver
-
-
-
Undo the 6 M6 Cap screw holding the rear waste board in place
-
This will loosen the electronics board as well
-
Remove the waste board from the machine
-
-
-
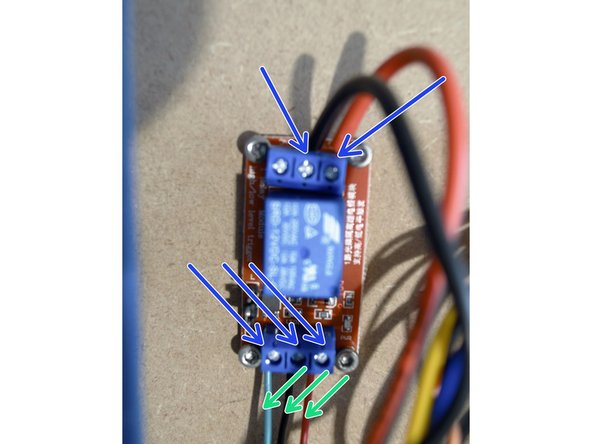
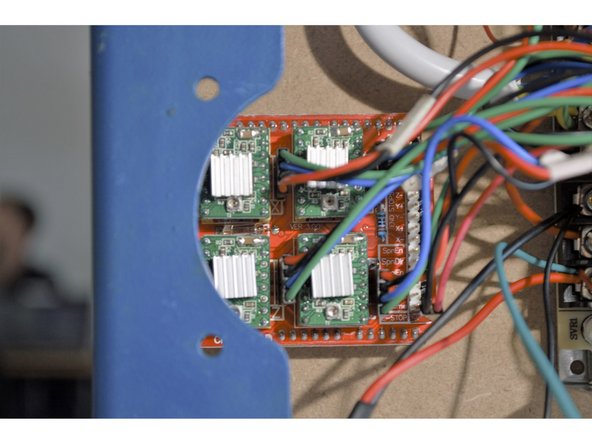
Loosen all the wires from the relay
-
Remove the Green, Black & Red wires from the CNC machine. These will not be used.
-
-
-
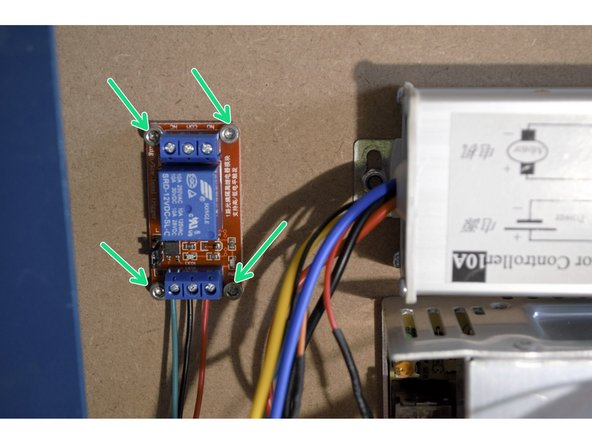
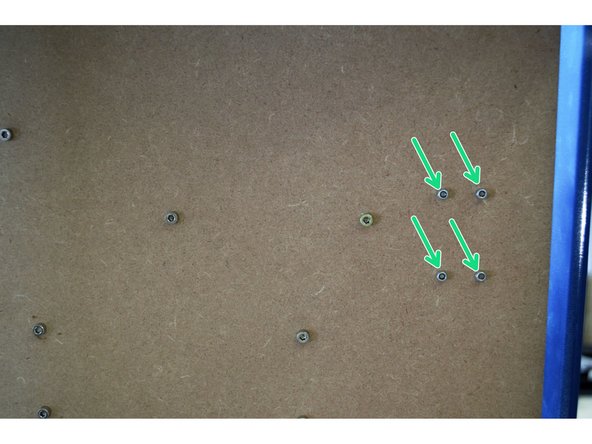
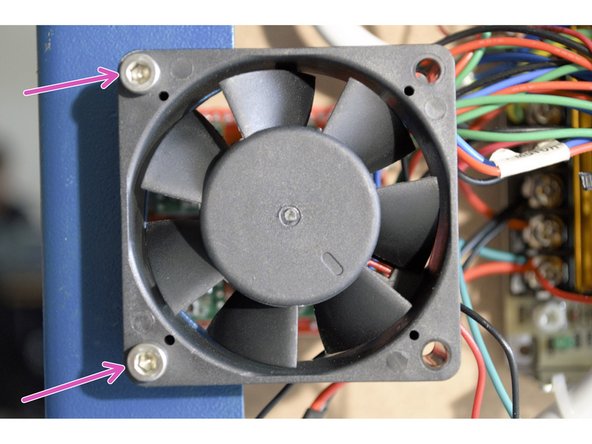
Remove the 4 cap screws mounting the relay
-
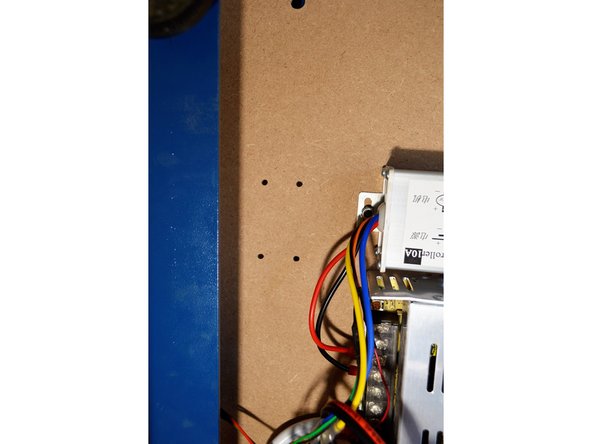
Remove the relay and screws
-
This relay and screws will not be used for the laser
-


Cancel: I did not complete this guide.
4 other people completed this guide.
2 Comments
Would it be possible to Keep the CnC Parts Connected as well so that I can freely swap between the 2 features without disconnecting the relays each time I want to use a different method?
Jan Hendrik Jacobs - Resolved on Release Reply