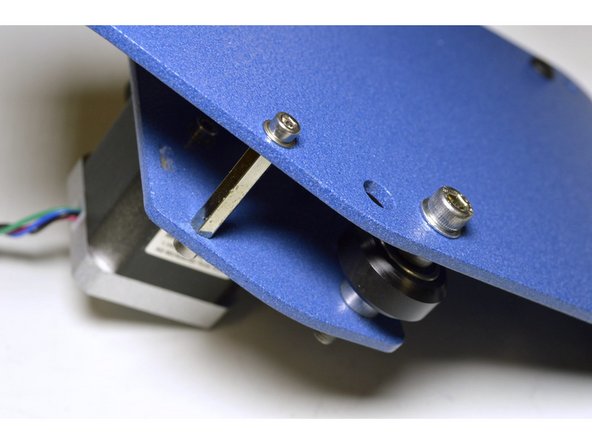
1. Z-Axis Plate
    • Z-Axis Plate

    • X-Motor Assembly

    • X Drag chain motor bracket

    • V-wheel kit (4 Pcs)

    • Nuts & Bolts (See next step)

  2. M4x16 Cap Screw
    • M4x16 Cap Screw

    • M4 Washer

    • M4 Nut

    • M5 Washer (4 Pcs)

    • Eccentric Nut (2 Pcs)

    • M3x8 Cap Screw (2 Pcs)

    • M3 Washer (2 Pcs)

    • M5x40 Cap Screw (2 Pcs)

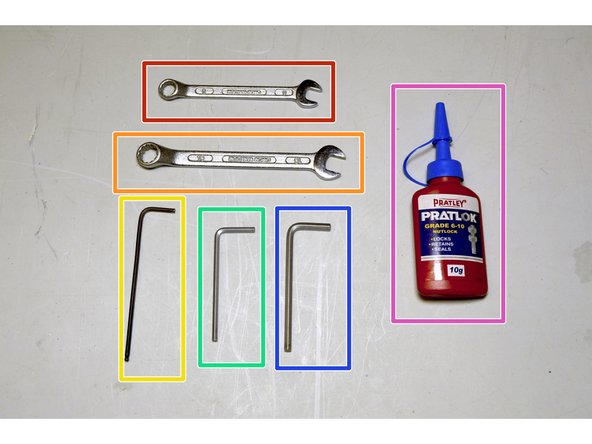
  3. No. 8 Spanner
    • No. 8 Spanner

    • No. 10 Spanner

    • 2.5mm Allen Key

    • 3mm Allen Key

    • 4mm Allen Key

    • Pratley Pratlock

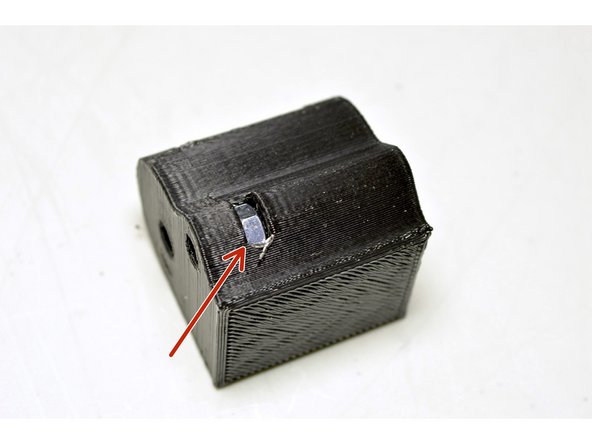
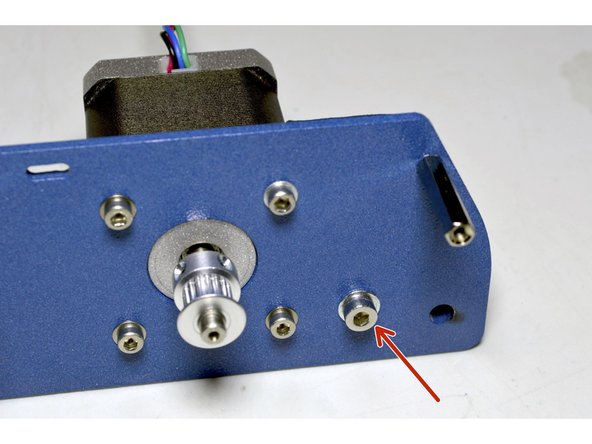
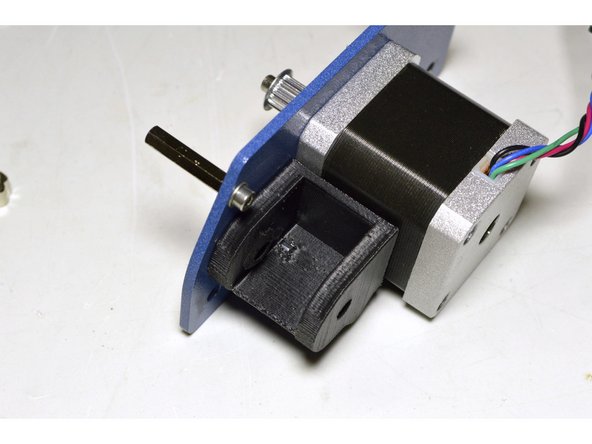
  4. Insert the M4 nut into the slot in the printed Drag Chain Motor Bracket Mount the bracket with the M4x16 cap screw, M4 washer and Pratley Pratlock to the motor plate as shown Mount the bracket with the M4x16 cap screw, M4 washer and Pratley Pratlock to the motor plate as shown
    • Insert the M4 nut into the slot in the printed Drag Chain Motor Bracket

    • Mount the bracket with the M4x16 cap screw, M4 washer and Pratley Pratlock to the motor plate as shown

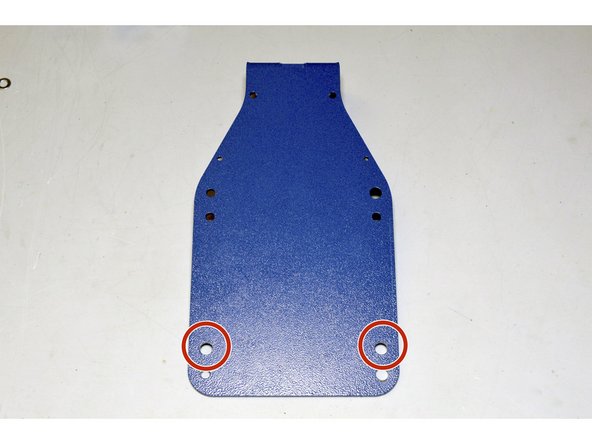
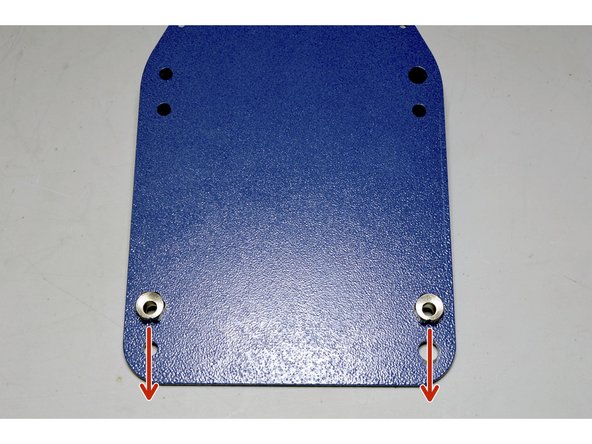
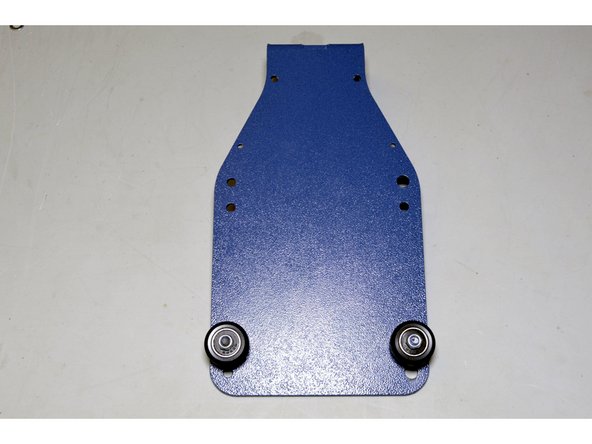
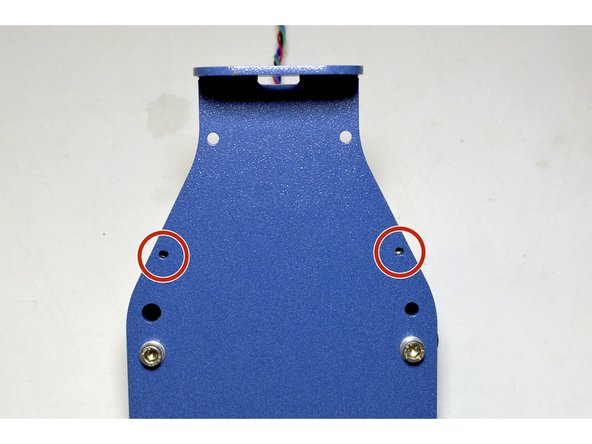
  5. Mount the V-wheels (2 Pcs) to the holes as indicated with the Eccentric nuts (2 Pcs) Make sure the notch in the Eccentric nuts are pointing downwards Use the No. 8 Spanner and 3mm Allen Key to tighten the V-Wheels
    • Mount the V-wheels (2 Pcs) to the holes as indicated with the Eccentric nuts (2 Pcs)

    • Make sure the notch in the Eccentric nuts are pointing downwards

    • Use the No. 8 Spanner and 3mm Allen Key to tighten the V-Wheels

    • Make sure the V-wheels can turn easily

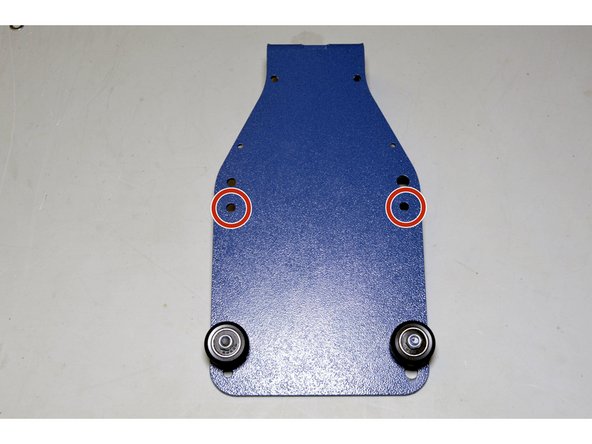
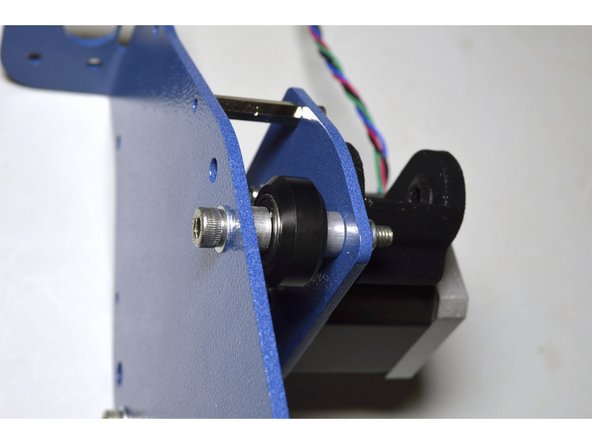
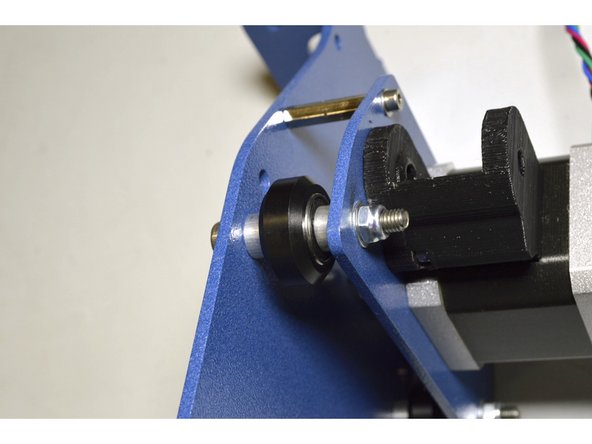
  6. Mount the other two V-Wheels between the Z-Axis Plate and the X-Motor Plate with the M5x40 screws (2 Pcs) Use the aluminium spacers that was left over from the first two V-Wheels to mount aluminium spacers on both sides The order of components on the M5x40 screw are: M5 Washer, Z-Axis plate, Aluminium spacer, V-wheel Assembly, Aluminium spacer, X-Motor Plate, M5 Washer, M5 Lock nut
    • Mount the other two V-Wheels between the Z-Axis Plate and the X-Motor Plate with the M5x40 screws (2 Pcs)

    • Use the aluminium spacers that was left over from the first two V-Wheels to mount aluminium spacers on both sides

    • The order of components on the M5x40 screw are: M5 Washer, Z-Axis plate, Aluminium spacer, V-wheel Assembly, Aluminium spacer, X-Motor Plate, M5 Washer, M5 Lock nut

    • After tightening, make sure the V-Wheels can turn easily

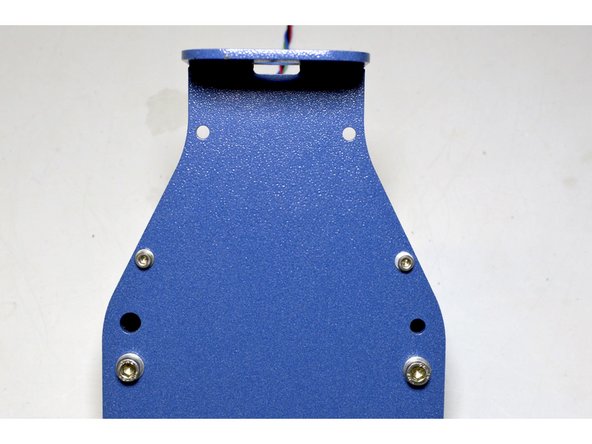
  7. Fix the loose end of the M3x23 standoffs with the M3x8 cap screws (2 Pcs), M3 Washers (2 Pcs) and Pratley Pratlock Fix the loose end of the M3x23 standoffs with the M3x8 cap screws (2 Pcs), M3 Washers (2 Pcs) and Pratley Pratlock Fix the loose end of the M3x23 standoffs with the M3x8 cap screws (2 Pcs), M3 Washers (2 Pcs) and Pratley Pratlock
    • Fix the loose end of the M3x23 standoffs with the M3x8 cap screws (2 Pcs), M3 Washers (2 Pcs) and Pratley Pratlock

Finish Line

14 other people completed this guide.

Paul Cronje

Member since: 10/05/2018

6,123 Reputation

46 Guides authored

2 Comments

I found that it would have been best to adjust as much as possible for x-rail tightness at this stage, as it is very cumbersome after completion of step 12 when attaching the rail and drive belts.

Gary Nagel - Reply

Done………………..

Francois Maritz - Reply

Add Comment

View Statistics:

Past 24 Hours: 0

Past 7 Days: 1

Past 30 Days: 3

All Time: 3,269