
-
-
Z-Axis Plate
-
X-Motor Assembly
-
X Drag chain motor bracket
-
V-wheel kit (4 Pcs)
-
Nuts & Bolts (See next step)
-
-
-
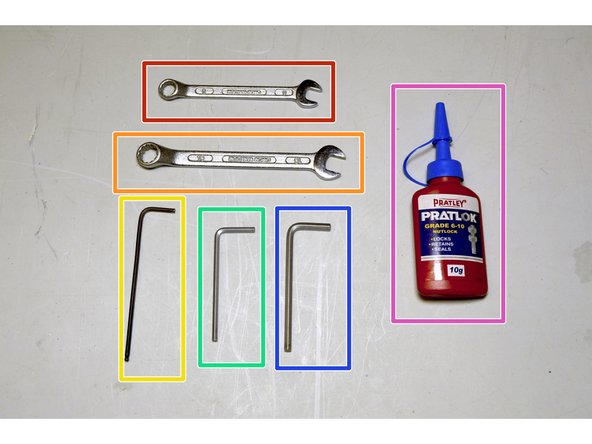
No. 8 Spanner
-
No. 10 Spanner
-
2.5mm Allen Key
-
3mm Allen Key
-
4mm Allen Key
-
Pratley Pratlock
-
-
-
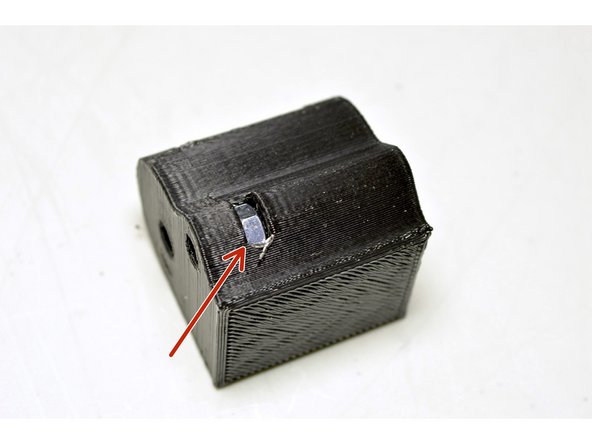
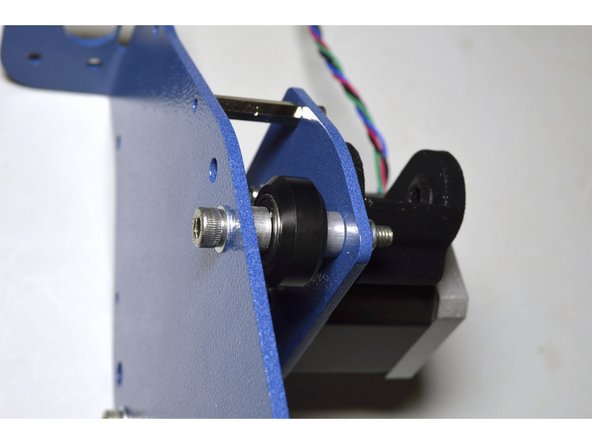
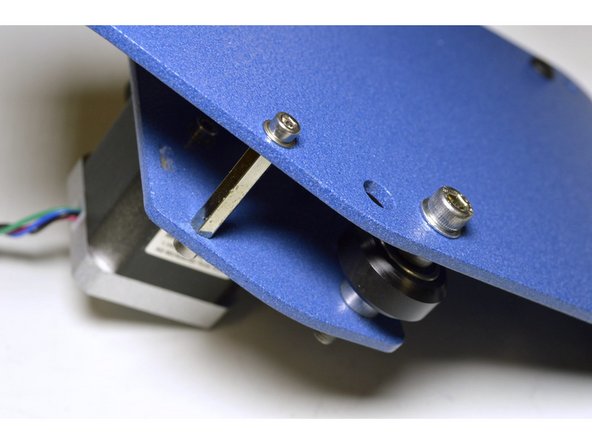
Insert the M4 nut into the slot in the printed Drag Chain Motor Bracket
-
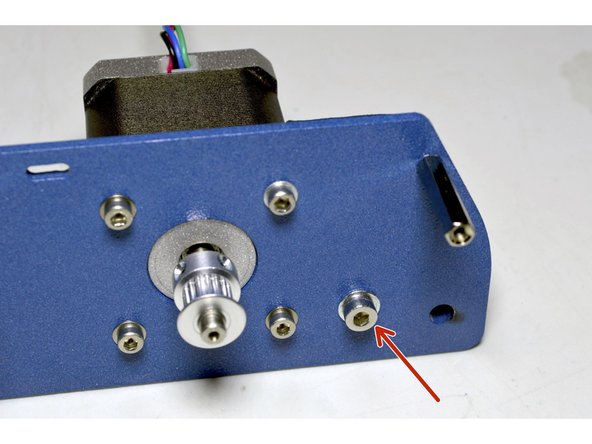
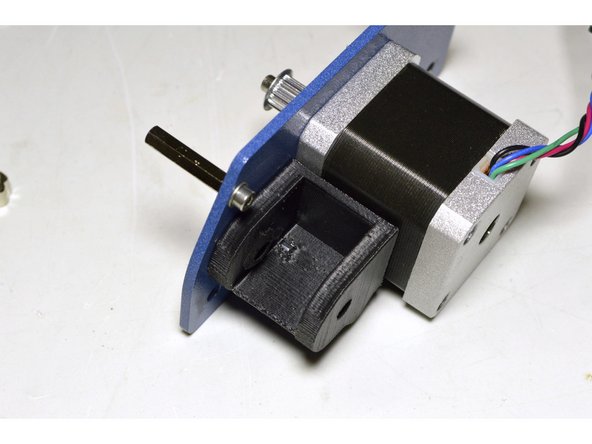
Mount the bracket with the M4x16 cap screw, M4 washer and Pratley Pratlock to the motor plate as shown
-
-
-
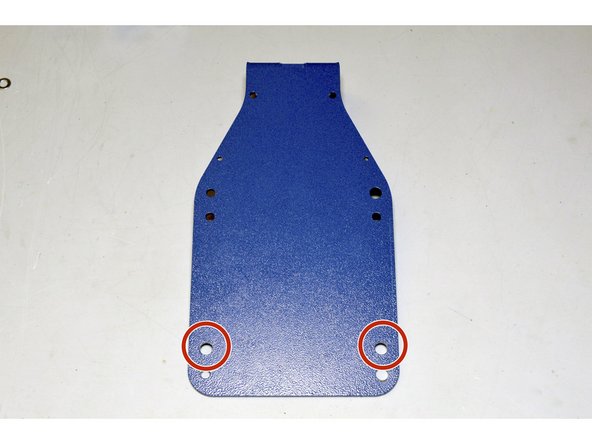
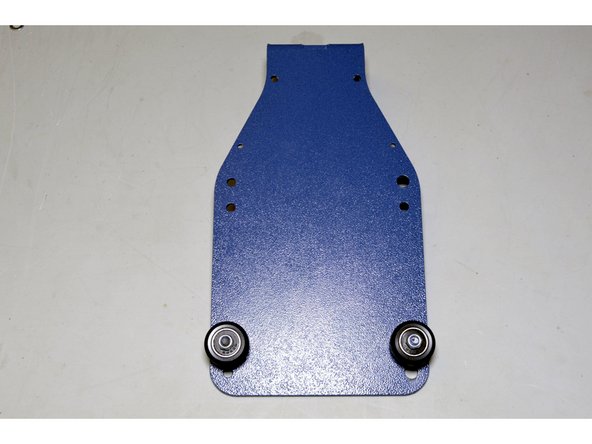
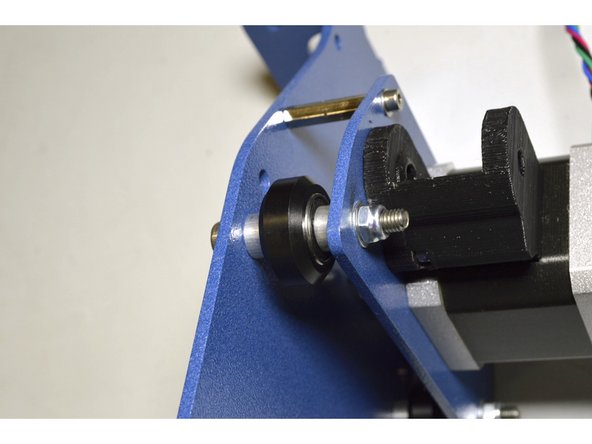
Mount the V-wheels (2 Pcs) to the holes as indicated with the Eccentric nuts (2 Pcs)
-
Make sure the notch in the Eccentric nuts are pointing downwards
-
Use the No. 8 Spanner and 3mm Allen Key to tighten the V-Wheels
-
Make sure the V-wheels can turn easily
-
-
-
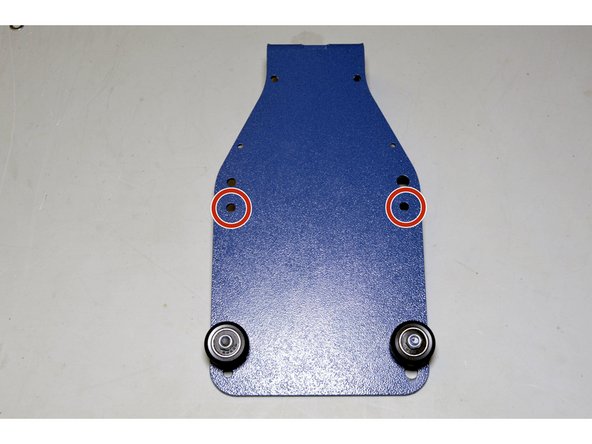
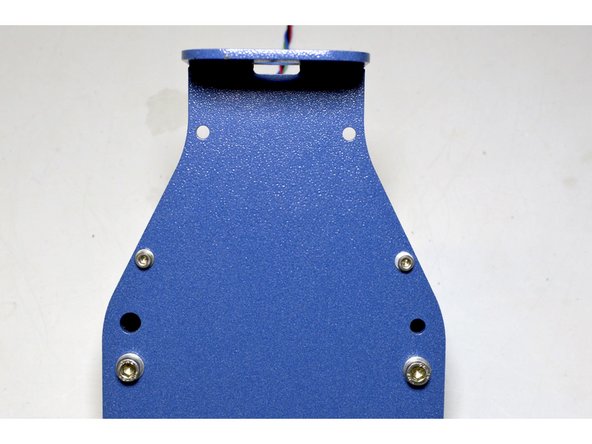
Mount the other two V-Wheels between the Z-Axis Plate and the X-Motor Plate with the M5x40 screws (2 Pcs)
-
Use the aluminium spacers that was left over from the first two V-Wheels to mount aluminium spacers on both sides
-
The order of components on the M5x40 screw are: M5 Washer, Z-Axis plate, Aluminium spacer, V-wheel Assembly, Aluminium spacer, X-Motor Plate, M5 Washer, M5 Lock nut
-
After tightening, make sure the V-Wheels can turn easily
-
-
-
Fix the loose end of the M3x23 standoffs with the M3x8 cap screws (2 Pcs), M3 Washers (2 Pcs) and Pratley Pratlock
-


Cancel: I did not complete this guide.
14 other people completed this guide.
2 Comments
I found that it would have been best to adjust as much as possible for x-rail tightness at this stage, as it is very cumbersome after completion of step 12 when attaching the rail and drive belts.
Gary Nagel - Resolved on Release Reply