-
-
CNC Frame
-
Kettle Plug
-
M3 Lock Nut (2 Pcs)
-
M3x10 Counter Sunk Screw (2 Pcs)
-
2 Pin GX12 Connector (Soldered)
-
Mounted LED (Soldered)
-
Emergency Stop Plug
-
Emergency stop cable
-
-
-
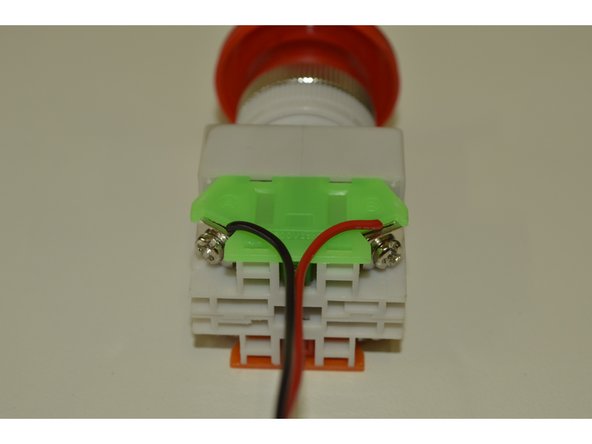
Mount emergency stop cable to emergency stop as illustrated
-
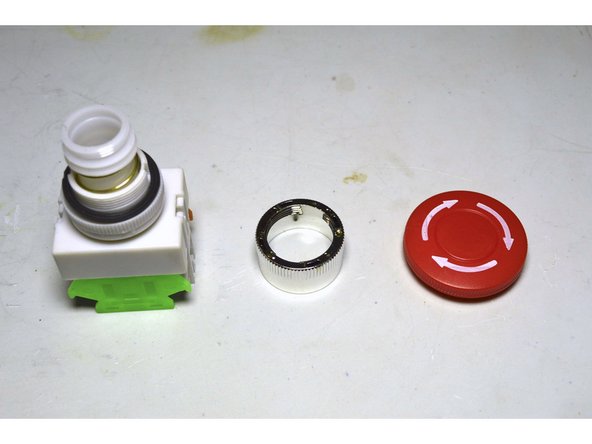
Disassemble the Emergency Stop Plug as shown in the picture
-
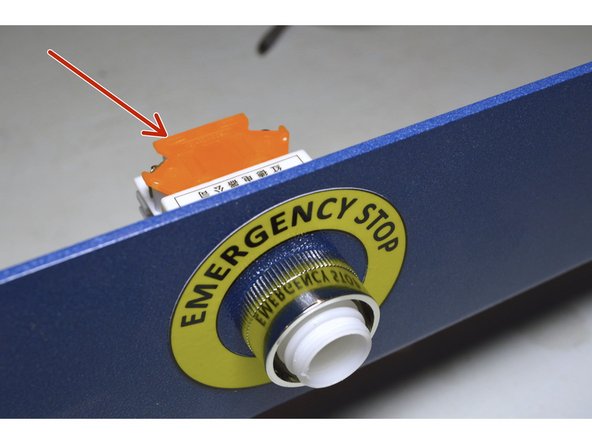
Mount the back end of the plug to the front panel with the orange plate to the top as shown
-
Fix the plug with the silver ring and screw the red knob on again
-
-
-
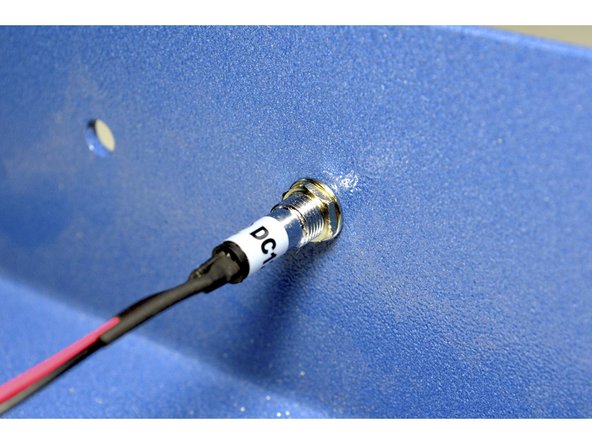
Remove the nut awn washer on the LED
-
Pull the wires od the LED through the hole provided
-
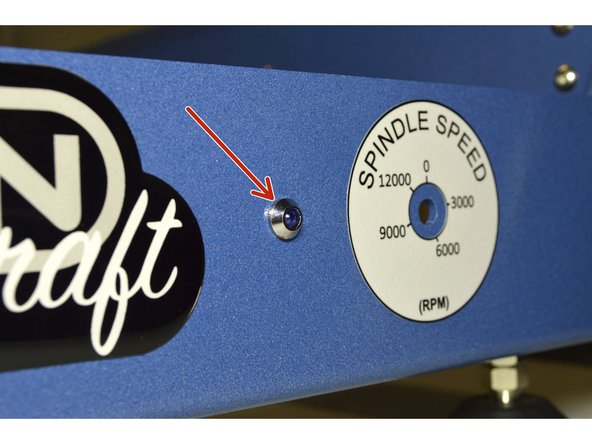
Fix the LED with the washer and nut as shown
-
-
-
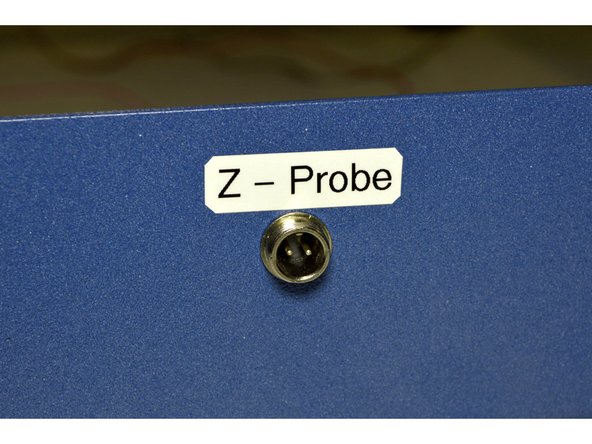
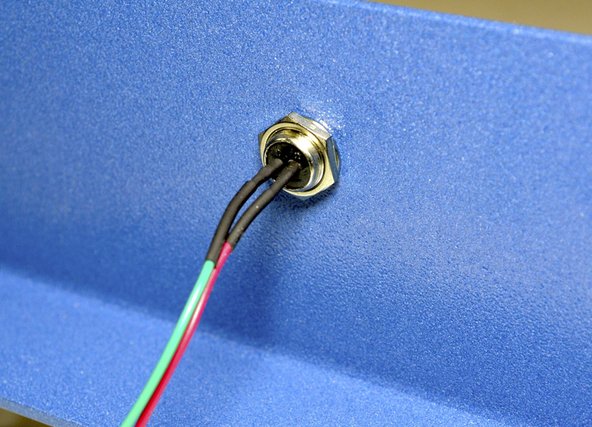
Remove the nut and washer from the GX12 connector
-
Insert the connector in the Z-Probe hole in the back plate
-
Mount the connector with the washer and nut as shown
-
-
-
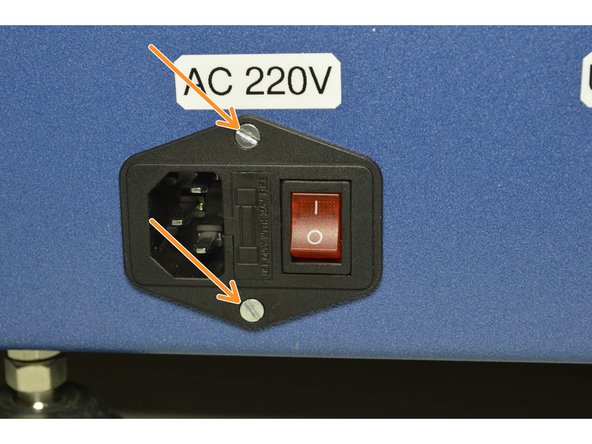
Insert the kettle plug in the cut out provided
-
Mount the kettle plug with the M3x10 Counter sunk screws (2 Pcs) and the M3 Lock Nuts (2 Pcs)
-
Cancel: I did not complete this guide.
13 other people completed this guide.
2 Comments
LED provided is 7.5 mm diameter, while hole in front plate is 7mm diameter after cleaning paint coating and some considerable filing with small files
Gary Nagel - Resolved on Release Reply


