
-
-
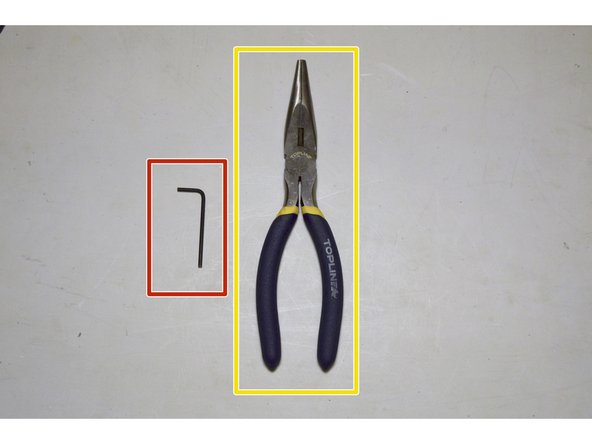
Electronics MDF board
-
CNC Electronics Module
-
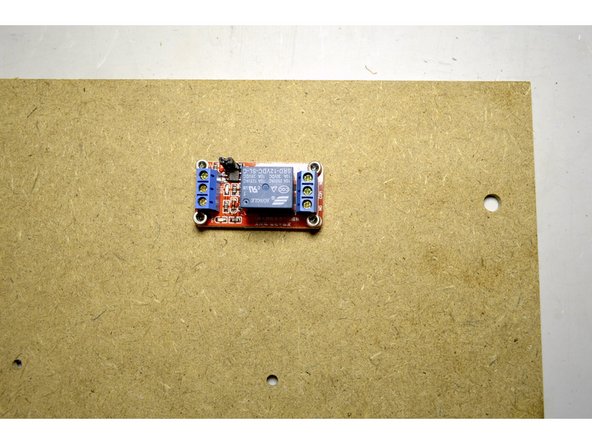
Relay Module
-
Nuts & Bolts (see next step)
-
-
-
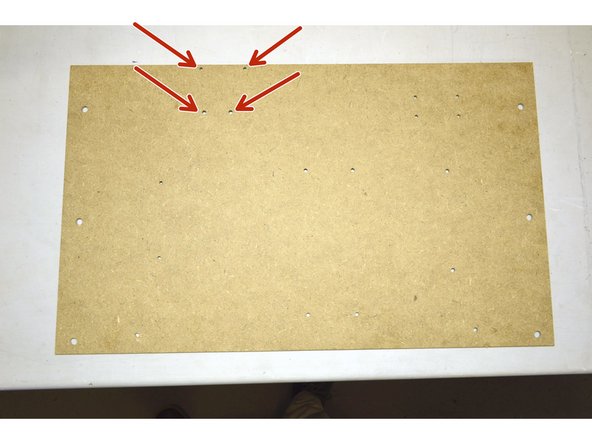
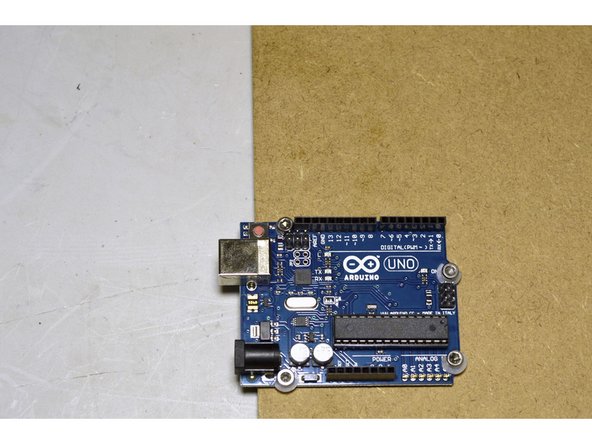
Remove the Arduino Uno from the CNC shield
-
Mount the Arduino Uno with the M3x10 Cap Screws (4 Pcs) and the M3 Lock Nuts (4 Pcs) in the holes shown in red in the picture
-
Do not over tighten the screws, just make sure the board is secure
-
Assemble the CNC shield back onto the Arduino Uno. Make sure all the pins goes back into the headers on the Arduino.
-
-
-
If you are instaling a laser assembly aswell you will need to follow the following link and do not fasten this relay. 03. Prepare the new relay assembly
-
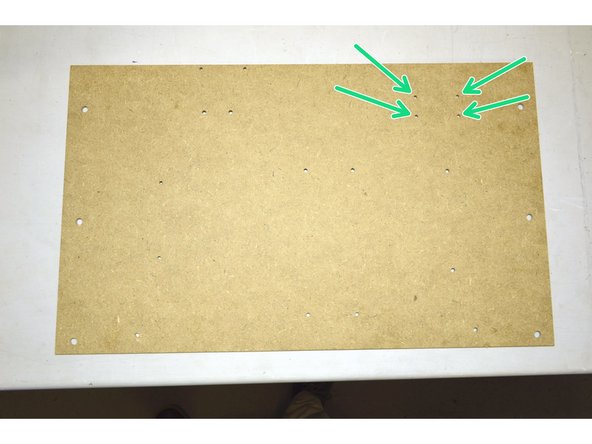
Mount the relay with the M3x10 Cap Screws (4 Pcs) and the M3 Lock Nuts (4 Pcs) in the holes shown in green in the picture
-
Do not over tighten the screws, just make sure the relay is secure
-


Cancel: I did not complete this guide.
13 other people completed this guide.