1. This section is NOT required for the Small version.  The Small version will not make use of the Y-Axis drag chains.
    • This section is NOT required for the Small version. The Small version will not make use of the Y-Axis drag chains.

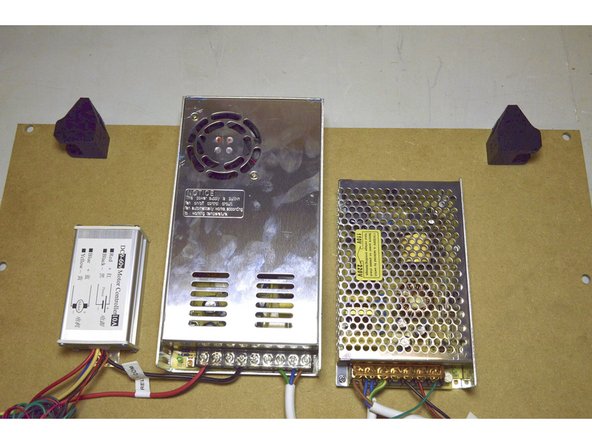
    • Y-Drag Chain Bracket Left

    • Y-Drag Chain Bracket Right

    • M4 Nut (2 Pcs)

    • M4x20 Cap Screw (2 Pcs)

    The actual labelling of the two parts are opposite to the placings in the photo. The part labelled right is on the left and vice versa.

    Gary Nagel - Reply

  2. 3mm Allen Key
    • 3mm Allen Key

    • Pratley Pratlock

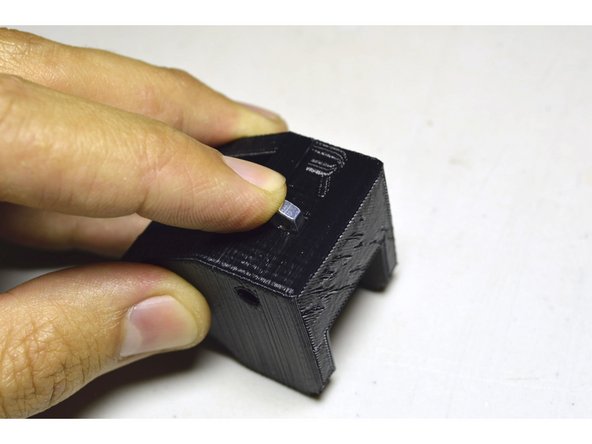
  3. Slide the M4 Nuts (2 Pcs) into the slots provided in the Printed Parts
    • Slide the M4 Nuts (2 Pcs) into the slots provided in the Printed Parts

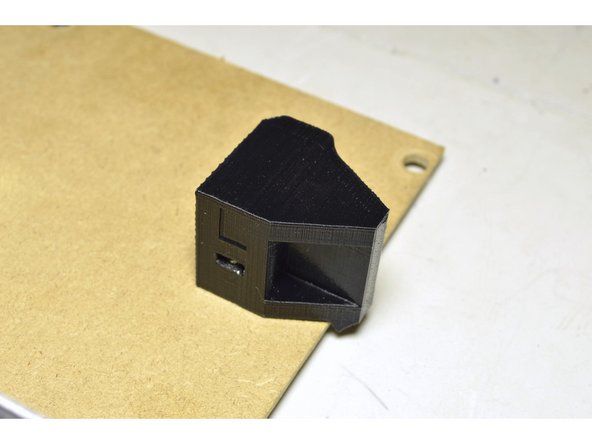
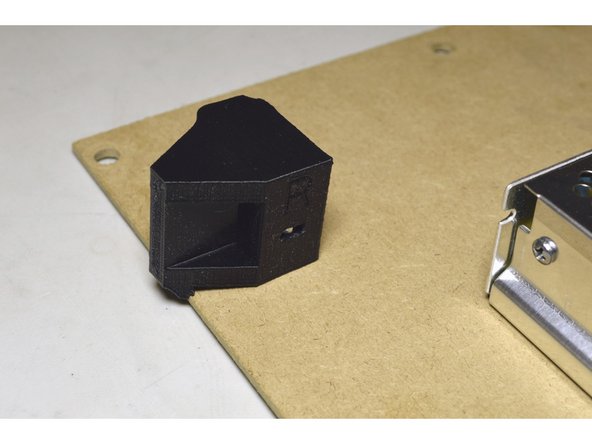
  4. Mount the Drag Chain brackets to the Electronics board with the M4x20 cap screws (2 Pcs) and the Pratley Pratlock The lip of the printed part will stick over the edge of the board to keep it from rotating The lip of the printed part will stick over the edge of the board to keep it from rotating
    • Mount the Drag Chain brackets to the Electronics board with the M4x20 cap screws (2 Pcs) and the Pratley Pratlock

    • The lip of the printed part will stick over the edge of the board to keep it from rotating

Finish Line

13 other people completed this guide.

Paul Cronje

Member since: 10/05/2018

6,123 Reputation

46 Guides authored

One Comment

Done………………..

Francois Maritz - Reply

Add Comment

View Statistics:

Past 24 Hours: 0

Past 7 Days: 0

Past 30 Days: 12

All Time: 3,801