
-
-
CNC Machine
-
Y-Drag Chain (2 Pcs)
-
Y-Drag Chain Carriage Bracket (2 Pcs)
-
M4x16 Cap Screw (2 Pcs)
-
M4 Lock Nut (2 Pcs)
-
Cable Tie 2.5mm (3 Pcs)
-
-
-
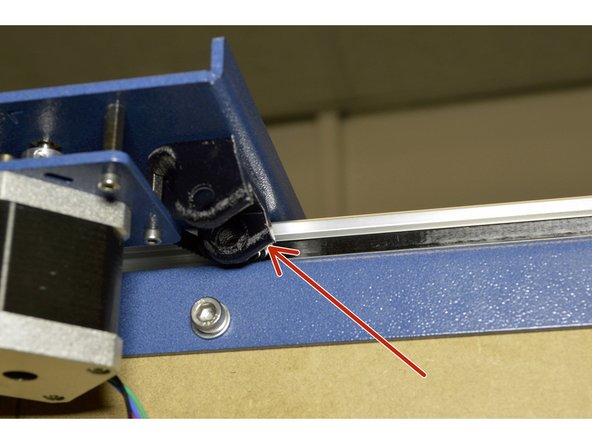
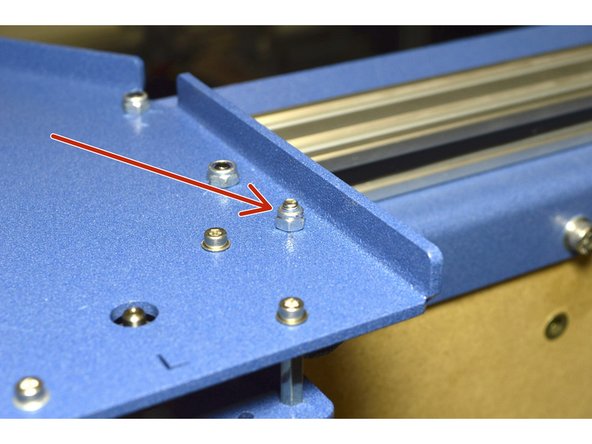
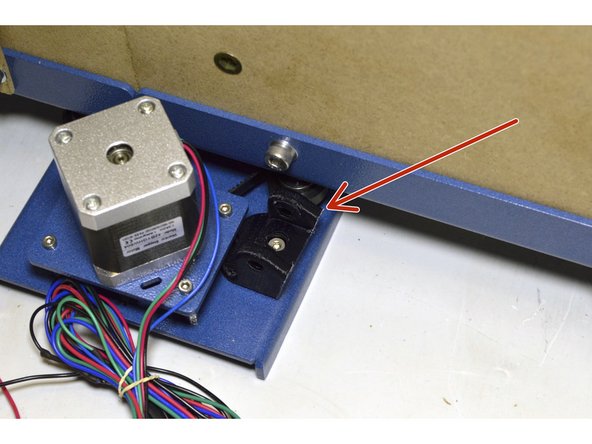
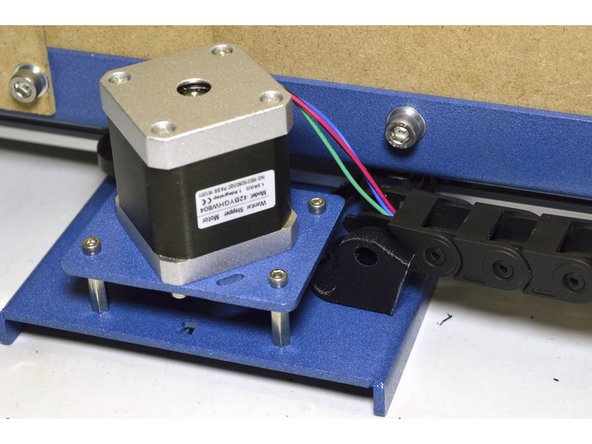
Mount the Y-Drag Chain Carriage Brackets with the M4x16 Cap Screws (2 Pcs) and M4 Lock Nuts (2 Pcs) on the Left and Right Y-Carriage Plates as shown
-
Tighten with the 3mm Allen Key and sharp Nose Pliers
-
-
-
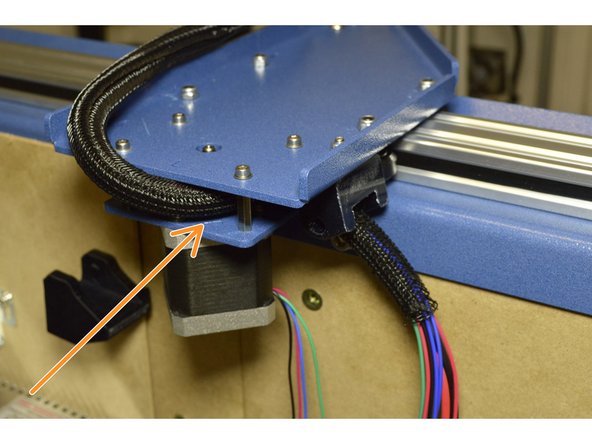
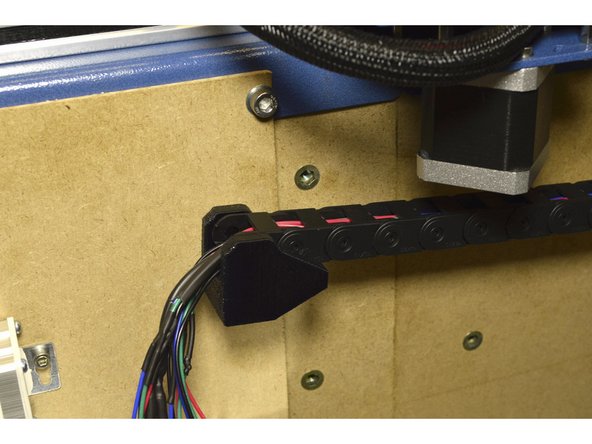
Route the X-Axis Cables through the Left Y-Carriage plate as shown in the picture
-
-
-
Pull all the X-axis cables through the one drag chain.
-
Make sure you have the correct end of the drag chain at the top.
-
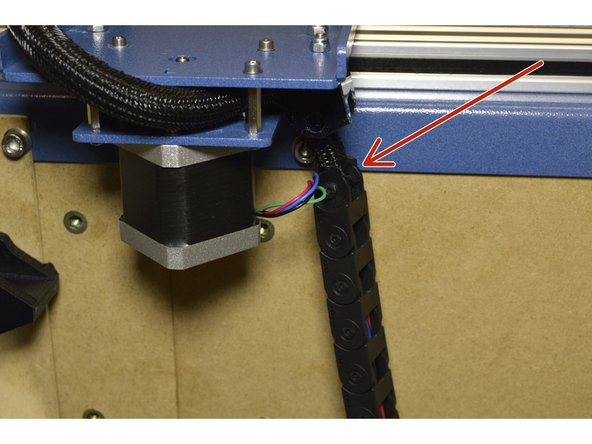
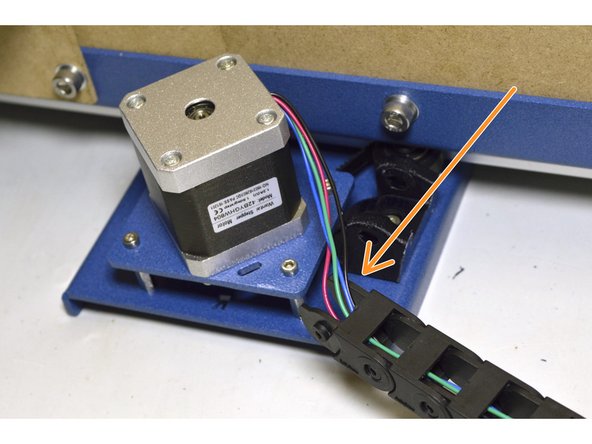
Also pull the Y-motor cable through the drag chain
-
Pull the Y-motor cable on the bottom through the other drag chain as shown
-
-
-
Click the Drag Chains into the printed brackets on both ends as shown
-
-
-
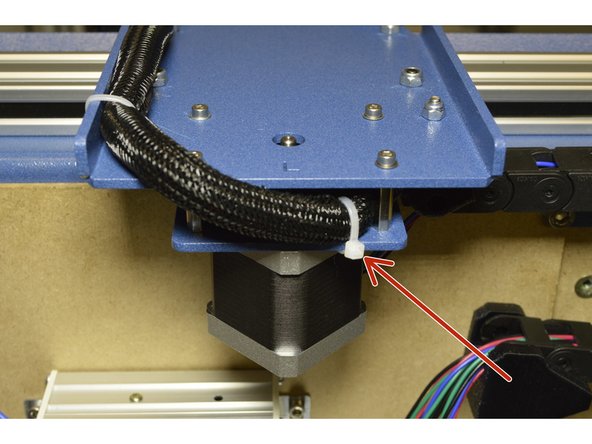
Use the Cable Ties (3 Pcs) and mount the X-Axis Cables to the Left Y-Carriage Plate as shown. There are slots for all 3 cable ties in the blue plates
-
-
-
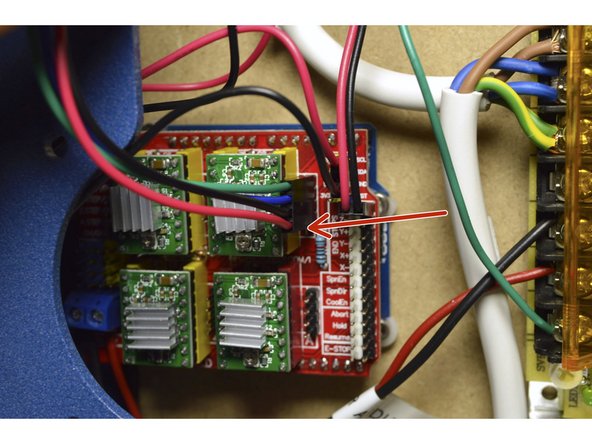
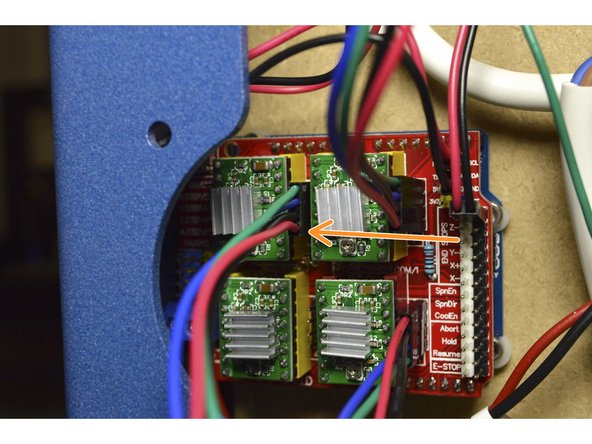
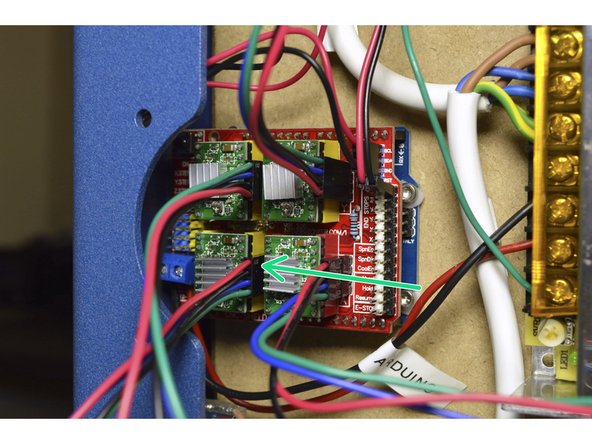
Connect the Left Y-Motor to the controller board at the top right plug with the red cable to the bottom
-
Connect the Right Y-Motor to the controller board at the bottom right plug with the red cable to the top
-
-
-
Connect the X-Motor to the controller board at the top left plug with the red cable to the bottom
-
Connect the Z-Motor to the controller board at the bottom left plug with the red cable to the top
-
-
-
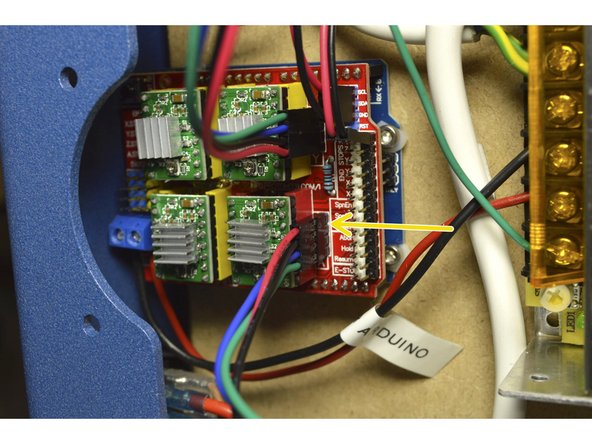
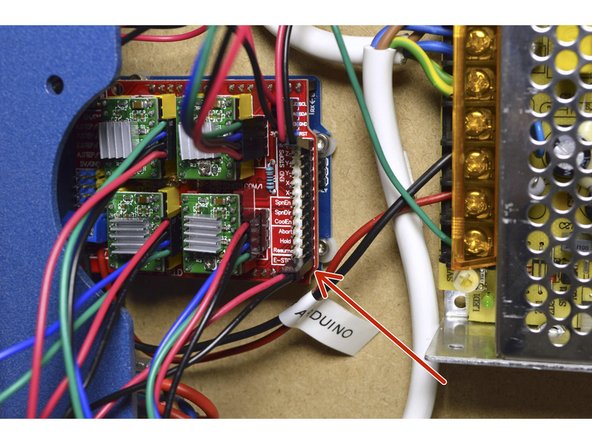
Connect the 2-pin connector of the Emergency-Stop to the E-STOP port on the bottom right pins on the controller board as shown
-
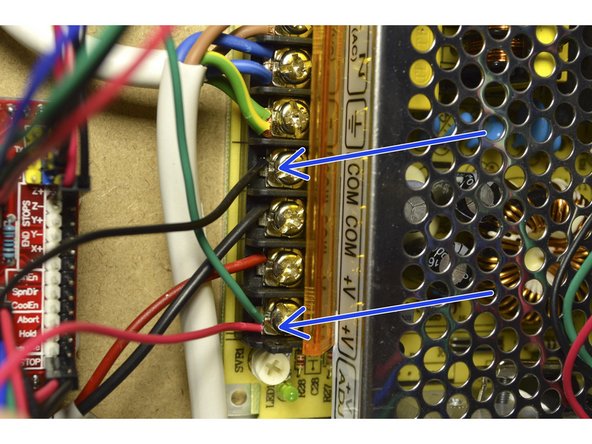
Connect the two cables of the LED on the front panel to the 100W, 12V power supply. The red cable connects to the +V port with the green wire and the black wire connects to the COM port.
-
-
-
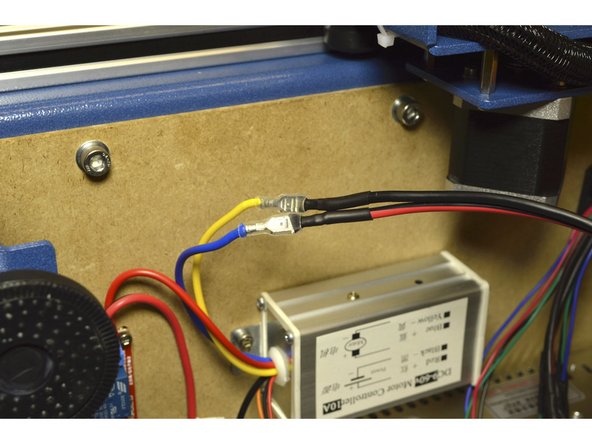
Connect the spindle cable to the Blue and Yellow wires on the Spindle speed controller.
-
The Red wire connects to the Blue wire and the Black wire connects to the Yellow wire
-


Cancel: I did not complete this guide.
15 other people completed this guide.