
-
-
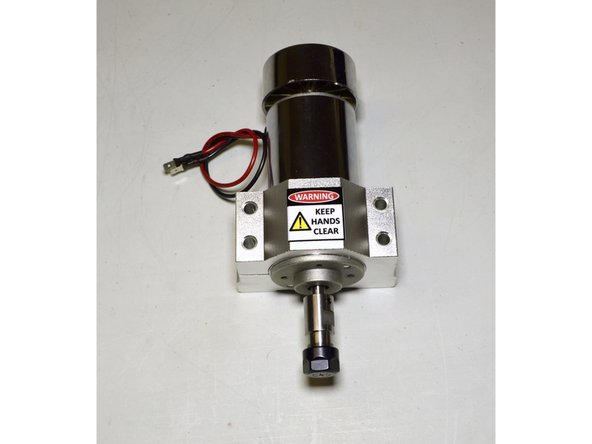
400W Spindle
-
Spindle bracket
-
Spindle back plate
-
M6x60 counter sunk screw (4 Pcs)
-
M6 Nut (4 Pcs)
-
-
-
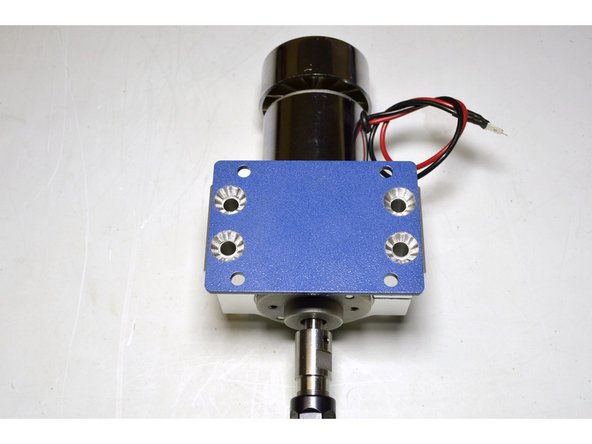
Turn the spindle arround
-
Place the Spindle plate on the back of the spindle bracket as shown in the picture
-
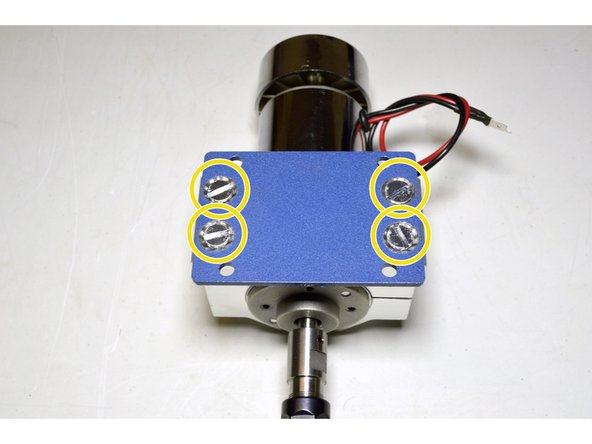
Add the M6x60 screws (4 Pcs) to the holes as indicated
-
-
-
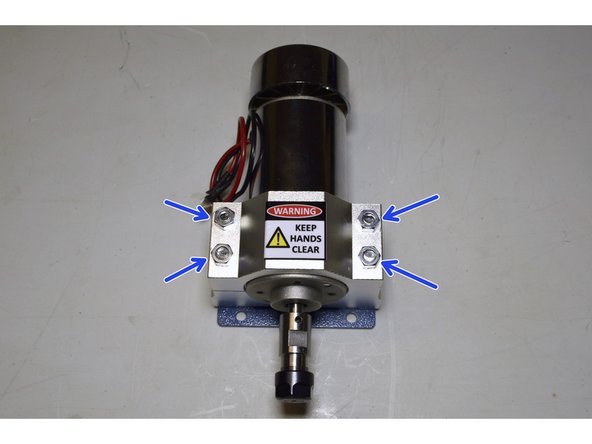
Turn the spindle assembly around again
-
Add Pratley Pratlock to the screws
-
Clamp the spindle down with the M6 nuts (4 Pcs) and fasten them with the No. 10 spanner and flat screw driver
-


Cancel: I did not complete this guide.
16 other people completed this guide.
4 Comments
My spindle doesn’t start automatically, everything is connected in the right manner but it just wont start
Hi Cobus
We are trying to contact you but we do not have your contact details. Will you please send an email to support@3dprintingstore.co.za with your contact details and description of the problem?
Hi there, please see this link for the wiring of the relay which controls the spindle switching. If you still struggle you can contact us at support@3dprintingstore.co.za