-
-
Z Plate Assembly
-
Spindle Assembly
-
V-Wheel Kit (4 Pcs)
-
Eccentric nut (2 Pcs)
-
M5 Washer (4 Pcs)
-
-
-
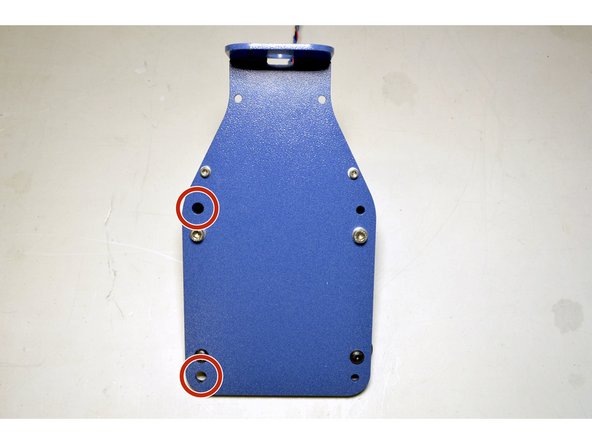
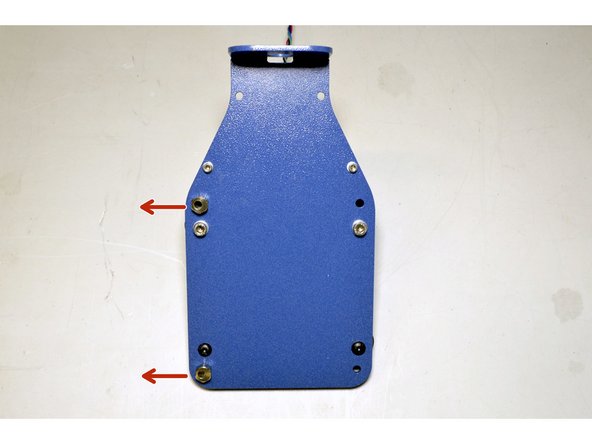
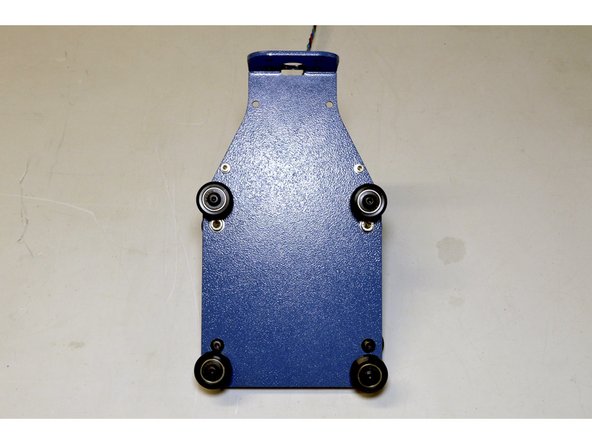
Insert the eccentric nuts in the holes indicated with the notch of the eccentric nut pointing to the left
-
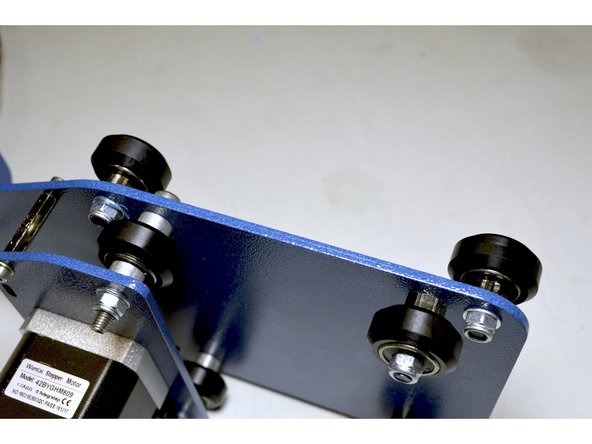
Assemble the V-Wheels with the M5 Washers (2 Pcs) at the back of the plate
-
Tighten the V-Wheels with the No. 8 Spanner and the 3mm Allen Key
-
Make sure the V-Wheels can turn easily
-
-
-
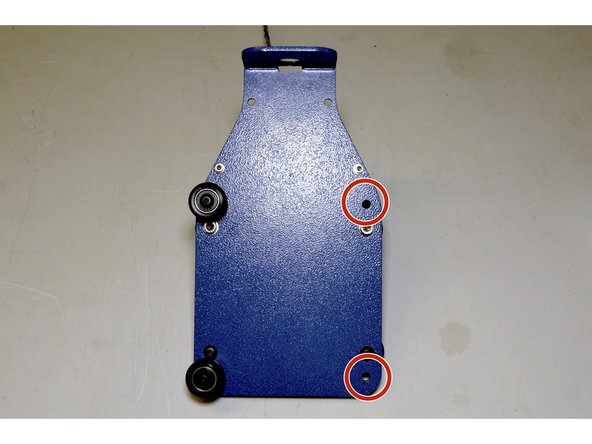
Mount the two remaining V-Wheels in the holes as indicated with the M5 washers (2 Pcs) as the back of the plate and only hand tighten the screws
-
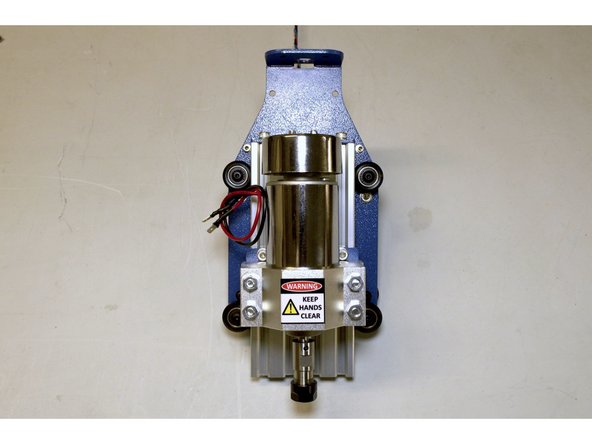
Insert the Spindle Assembly by pushing the two V-Wheels on the right to the right hand side
-
Once the Spindle Assembly is in place, tighten the two V-Wheels on the right with the 3mm Allen Key and the No. 8 spanner
-
Make sure the V-Wheels can turn easily
-
-
-
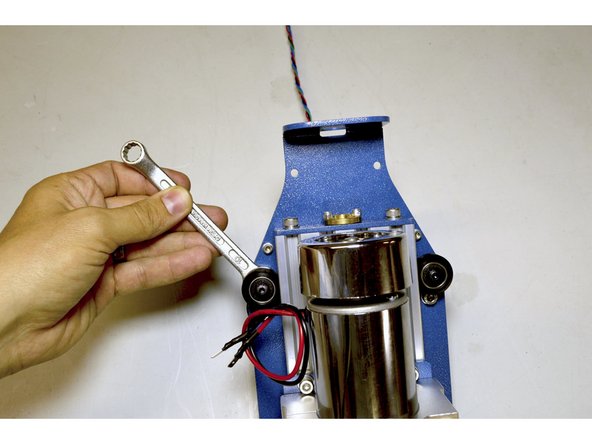
Use the No. 10 Spanner to adjust the preload between the V-Wheels by turning the eccentric nuts on the two left V-Wheels
-
Make sure the Z Axis can move up and down
-
Cancel: I did not complete this guide.
15 other people completed this guide.
5 Comments
This was a tough one in difficult spaces. Luckily done now. I removed the blue bar at the top and slid the spindle in from the bottom and once in I re-attached the blue bar. Made this last step allot easier.
Francois Maritz - Resolved on Release Reply
My Z plate holes are wrong, The eccentric holes are on the right and the smaller holes are on the left
Hi Ronnie,
We are aware of the problem, luckily this will not have an effect on the mechanism so you can use it as is. You will just need to adjust the wheels from the opposite sides when adjusting the tightness on the aluminium.
Eventhough I had the two V-Wheels very lightly tightened, I could not get the spindle past the wheels. Instead I slided it from the top (as the bottom does not have the blue brackat), took the top wheel off, inserted the spindle and re-mounted the top wheel.
Paul Strauss - Resolved on Release Reply
This is where I finished on day 1: Can’t see straight anymore :D
anthony.slater111@gmail.com - Resolved on Release Reply


