
-
-
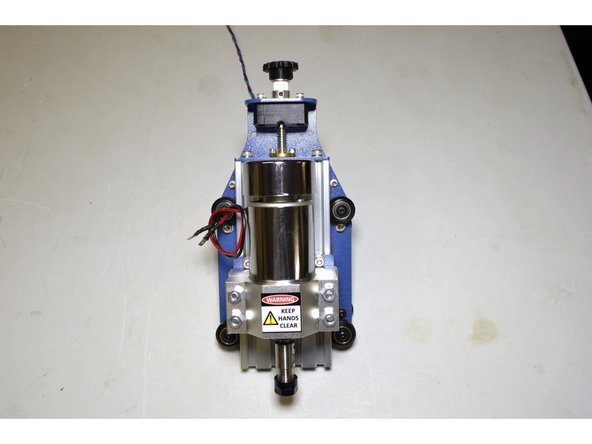
Spindle Z-Axis Assembly
-
8mm Lead screw
-
608 Bearing (2 Pcs)
-
GT2 Pulley, 20 Teeth, 8mm Bore
-
Z Bearing Block
-
Z Knob
-
Nuts & Bolts (See next step)
-
-
-
M4 Lock Nut (4 Pcs)
-
M4 Washer (4 Pcs)
-
M4x20 Cap Screw (4 Pcs)
-
8mm Shaft Sleeve (2 Pcs)
-
M3 Nut
-
M3x6 Grub Screw
-
-
-
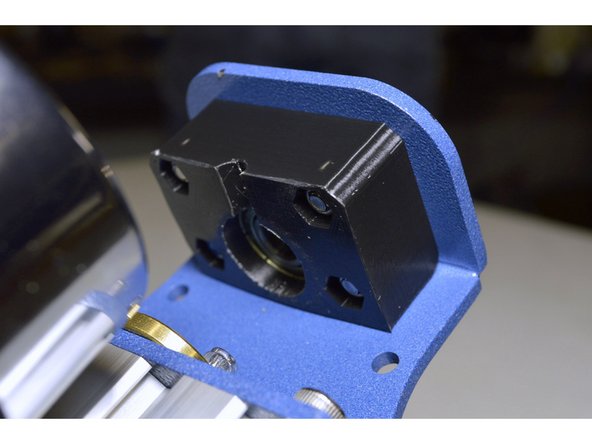
Insert the 608 bearings (2 Pcs) into the printed bearing block
-
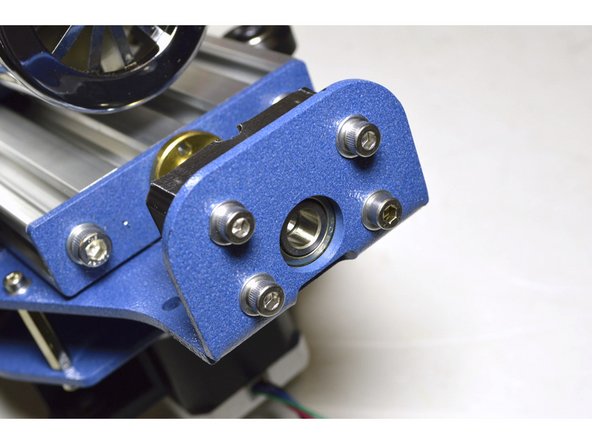
Mount the beating block onto the Spindle Z-Axis Assembly with the M4x20 cap screws (4 Pcs), M4 Washers (4 Pcs) and M4 Lock Nuts (4 Pcs)
-
Do not fully tighten the M4 screws yet, the allignment needs to be done first
-
-
-
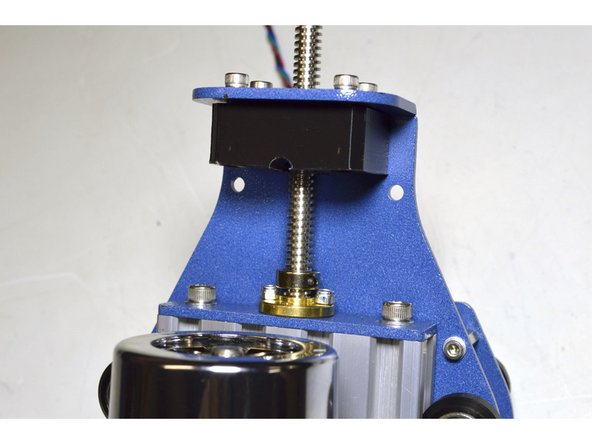
Insert the lead screw through the bearing block, through one 8mm Shaft Sleeve and screw it into the brass lead screw nut
-
-
-
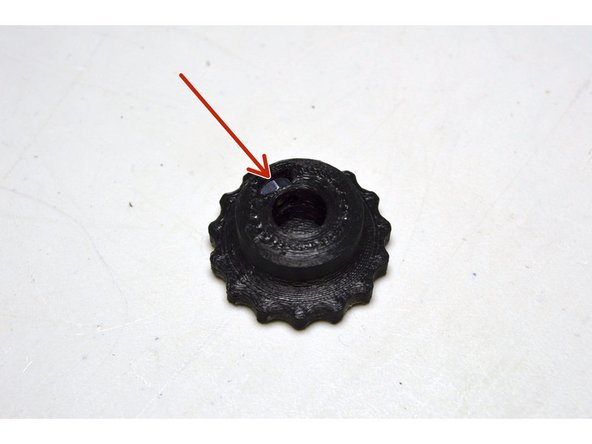
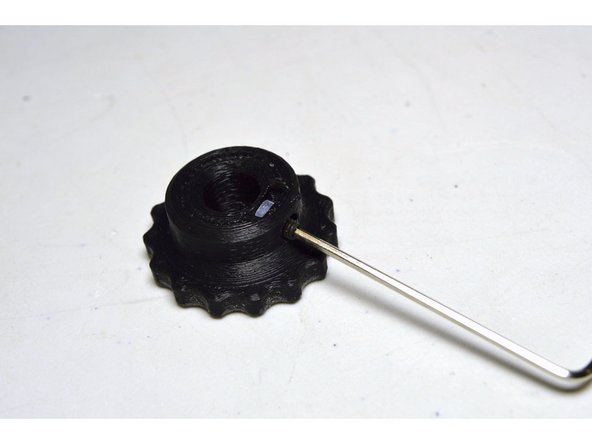
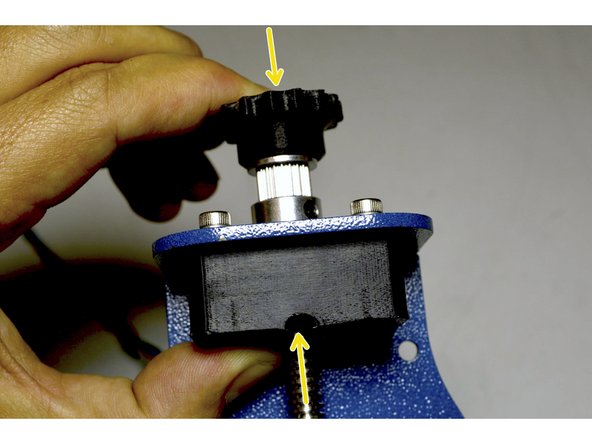
Insert the M3 nut into the slot at the bottom on the Z-knob
-
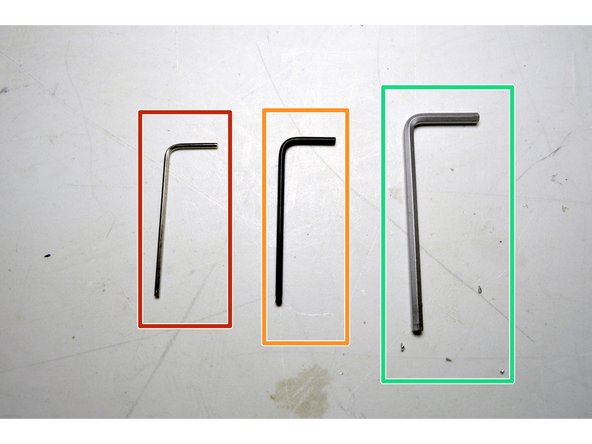
Screw the M3x6 grub screw into the M3 nut with the 1.5mm Allen Key
-
-
-
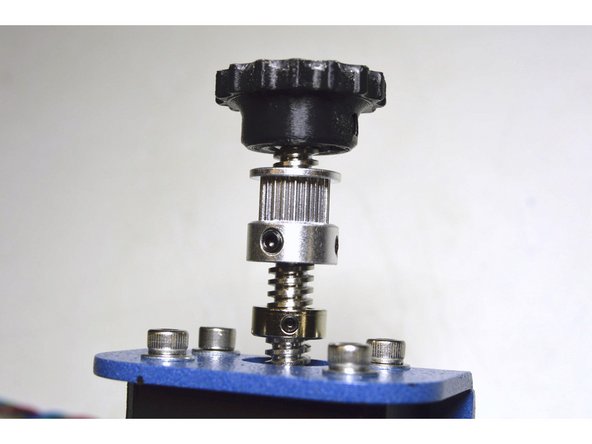
Slide the other 8mm Shaft Sleeve, GT2 Pulley and Z-Knob onto the lead screw
-
Mount the Z-knob onto the lead screw by tightening the M3 grub screw
-
Slide the GT2 Pulley and the 8mm Shaft Sleeve upwards till it is against the Z-knob and tighten them
-
-
-
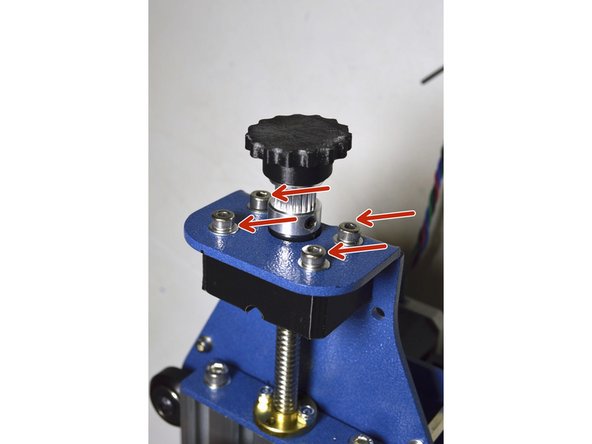
Tighten the M4x20 screws which mounts the bearing block
-
Make sure not to over tighten these screws so that the Bearing block breaks
-
Push the Z-knob and bottom collet towards each other, while tightening the bottom collet
-
Make sure the lead screw can turn easily and that there is no vertical play on the spindle assembly, else the collets needs to be adjusted
-


Cancel: I did not complete this guide.
14 other people completed this guide.
4 Comments
@paulcronje I feel a bit dumb asking…but I need help…step 5…”Insert the lead screw through the bearing block, through one 8mm Shaft Sleeve and screw it into the brass lead screw nut”….the 8mm Shaft Sleeve comes between the bearing block and the brass nut, right? Do I tighten it? if so, where?
I’ve set everything up and it seems to be working fine until I made the fist cut, there was a sudden drop at a point and it went straight through the wood…i’ve pressed the emergency stop and saw that one of the grub screws came out of the sleeve that is between the bearing and brass nut….now i’m not sure what to do…this is my first time setting up a cnc and working with a cnc
Can you please HELP?????
Vickeylee Titus - Resolved on Release Reply
Newer version of the Z-Knob looks great. The tolerances for the nuts on the printed bearing block are a bit tight. Before mounting the block, draw each of the M4 lock nuts a little way into their respective slots using the M4 Bolt.
I found that the lead screw did not mate nicely with the lead screw nut due to alignment. I loosened up the guide wheels to get the mating right. Then tightened everything up after alignment. I am just concerned that there may still be a slight alignment issue as you are having to force the alignment.
vincent@modena.capetown - Resolved on Release Reply
Newer version Z-Knob does not make provision for the nut insert. Only two grub screws.
Paul Strauss - Resolved on Release Reply